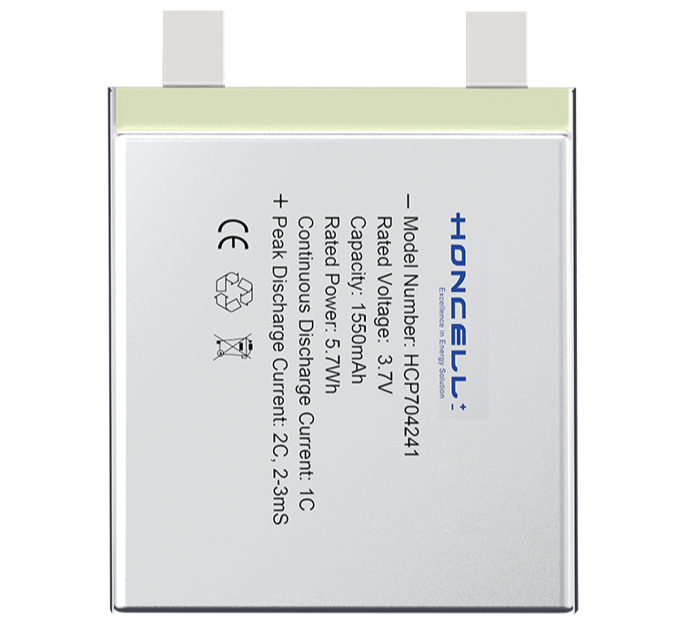
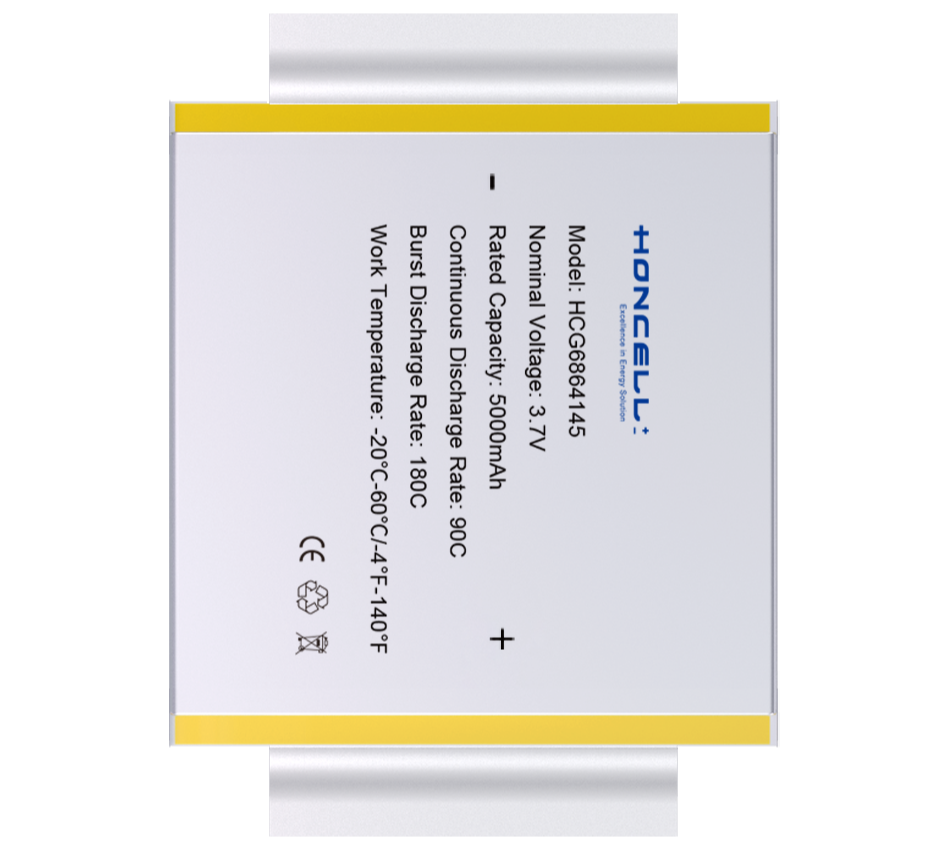
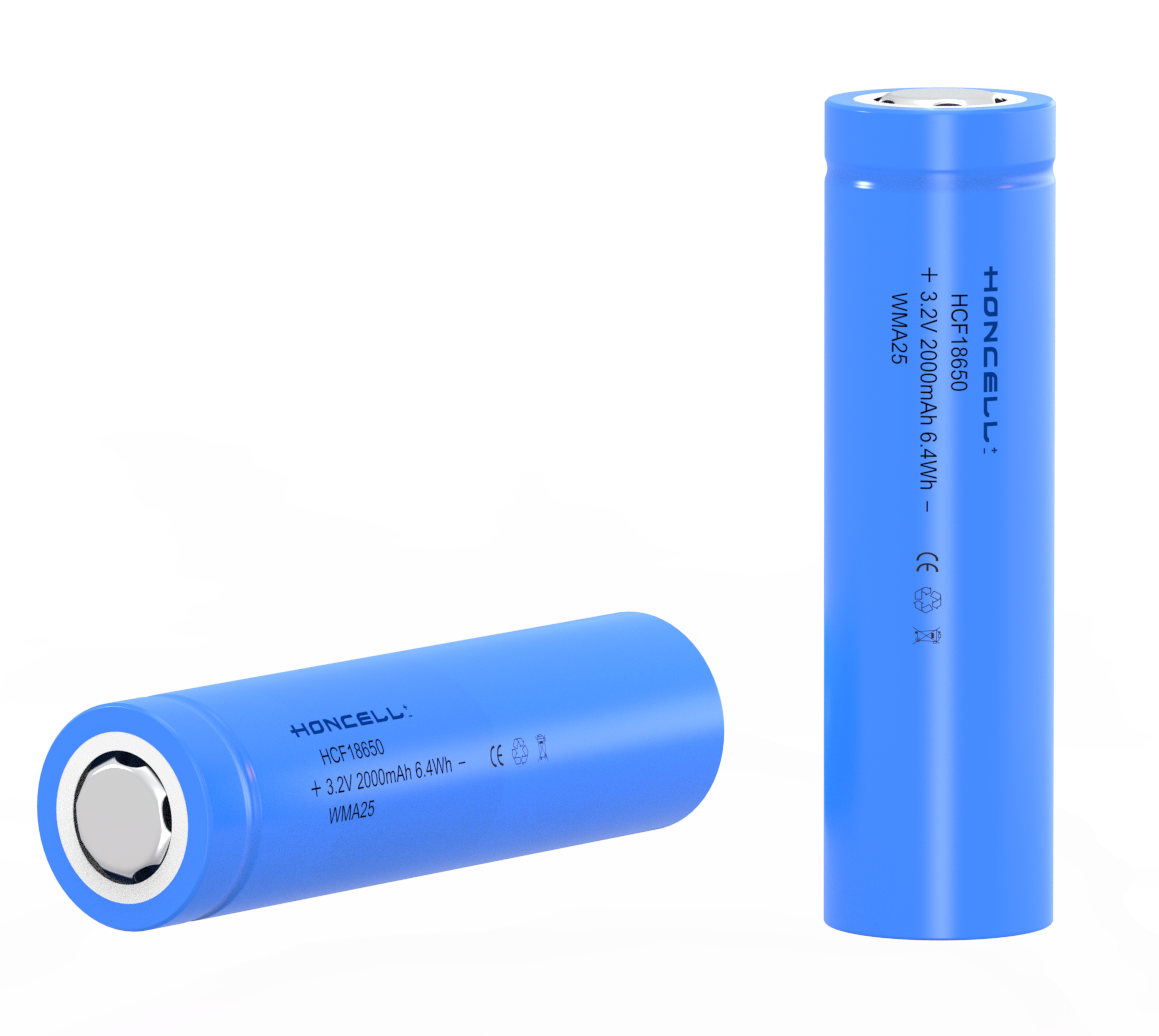
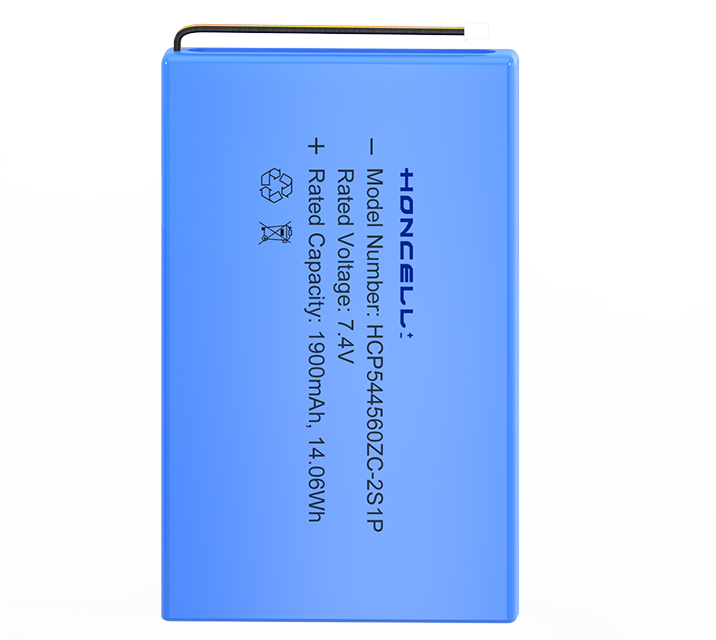
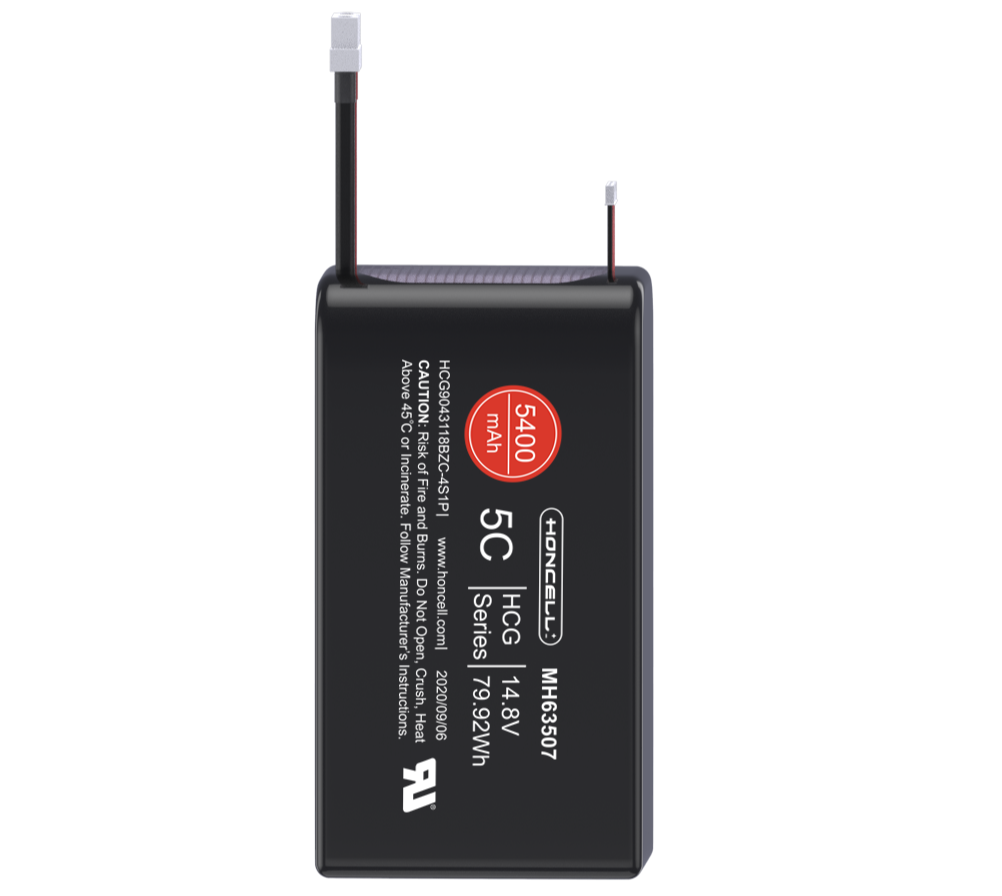
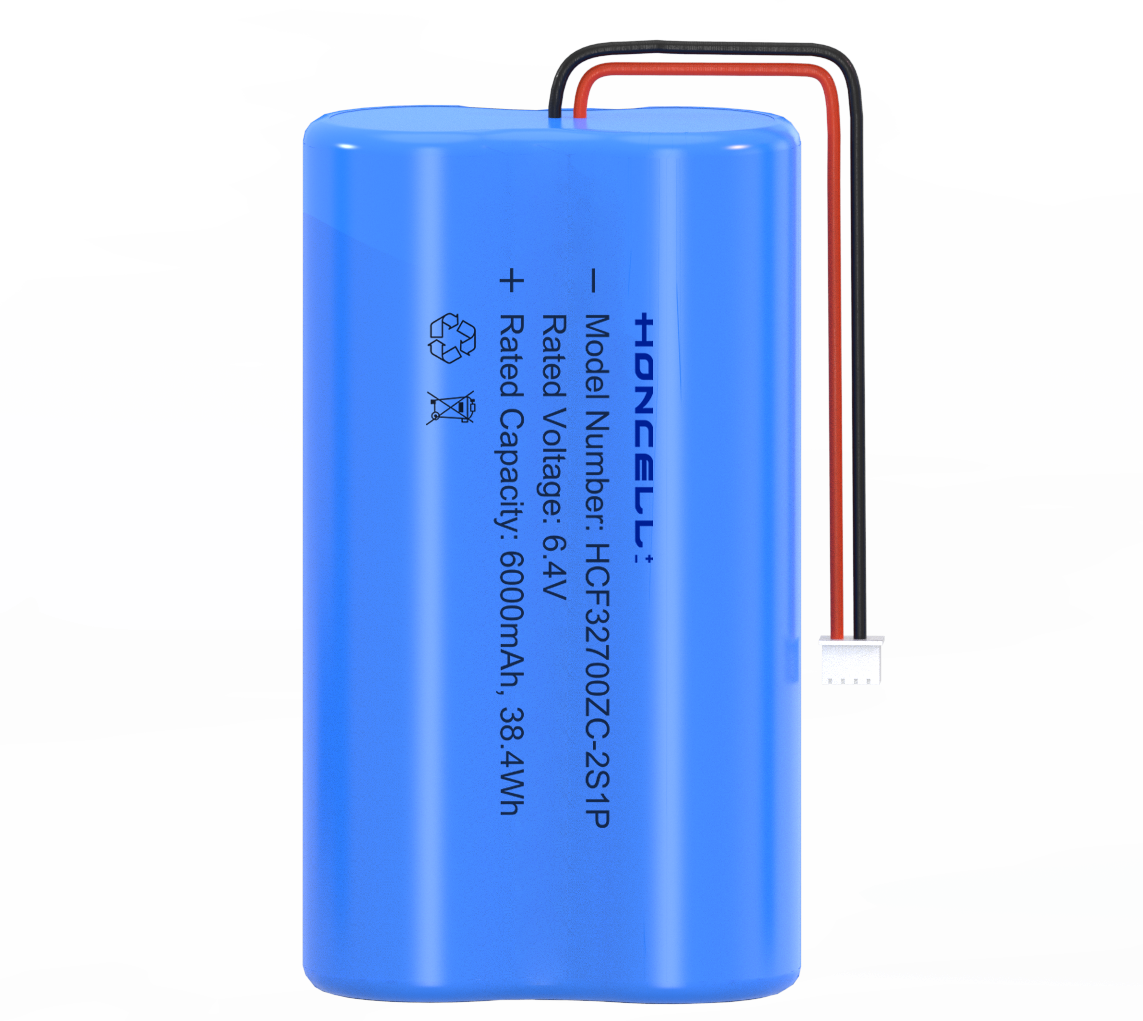
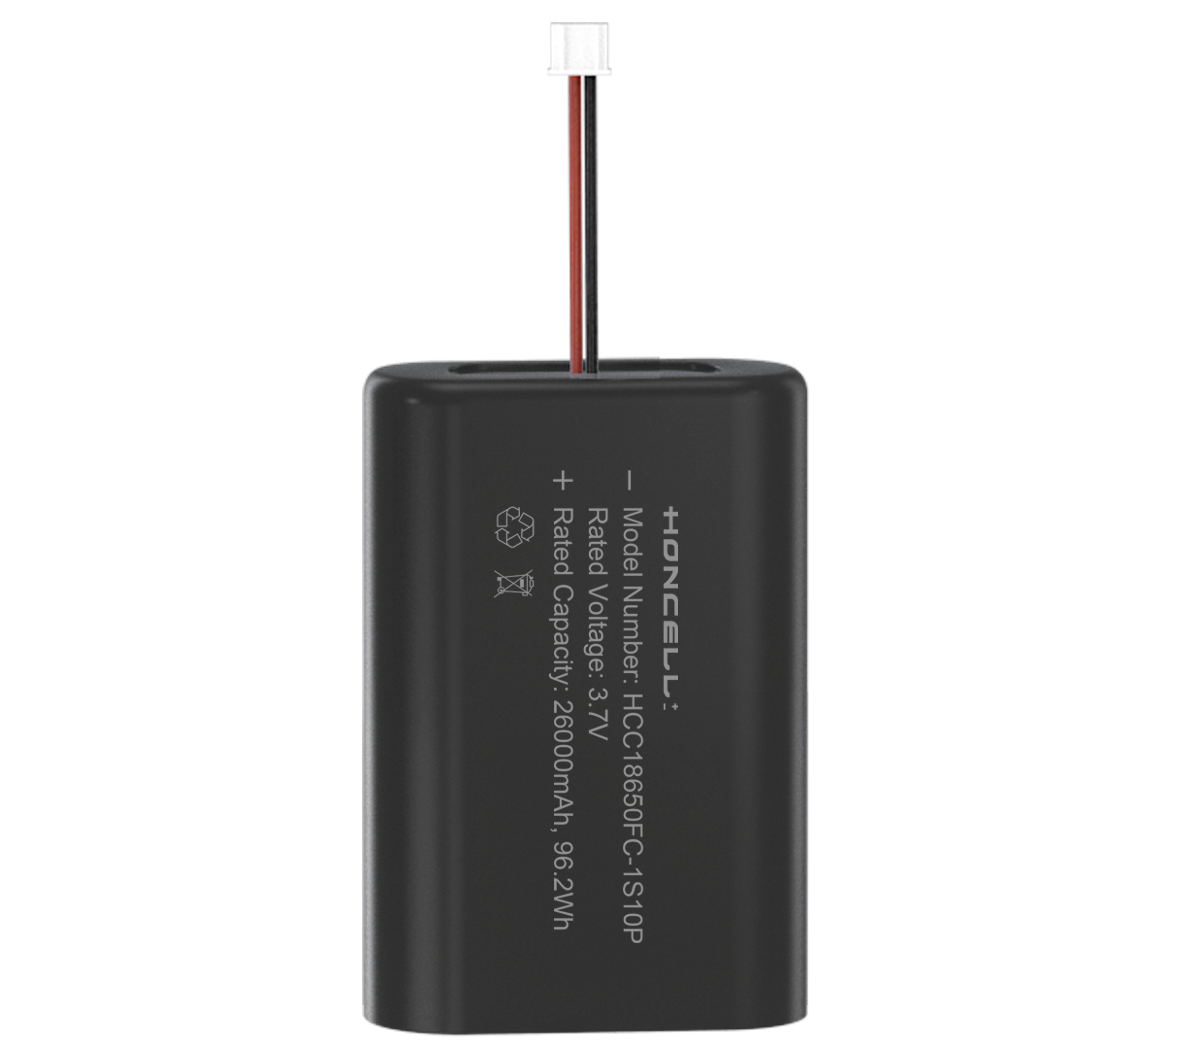
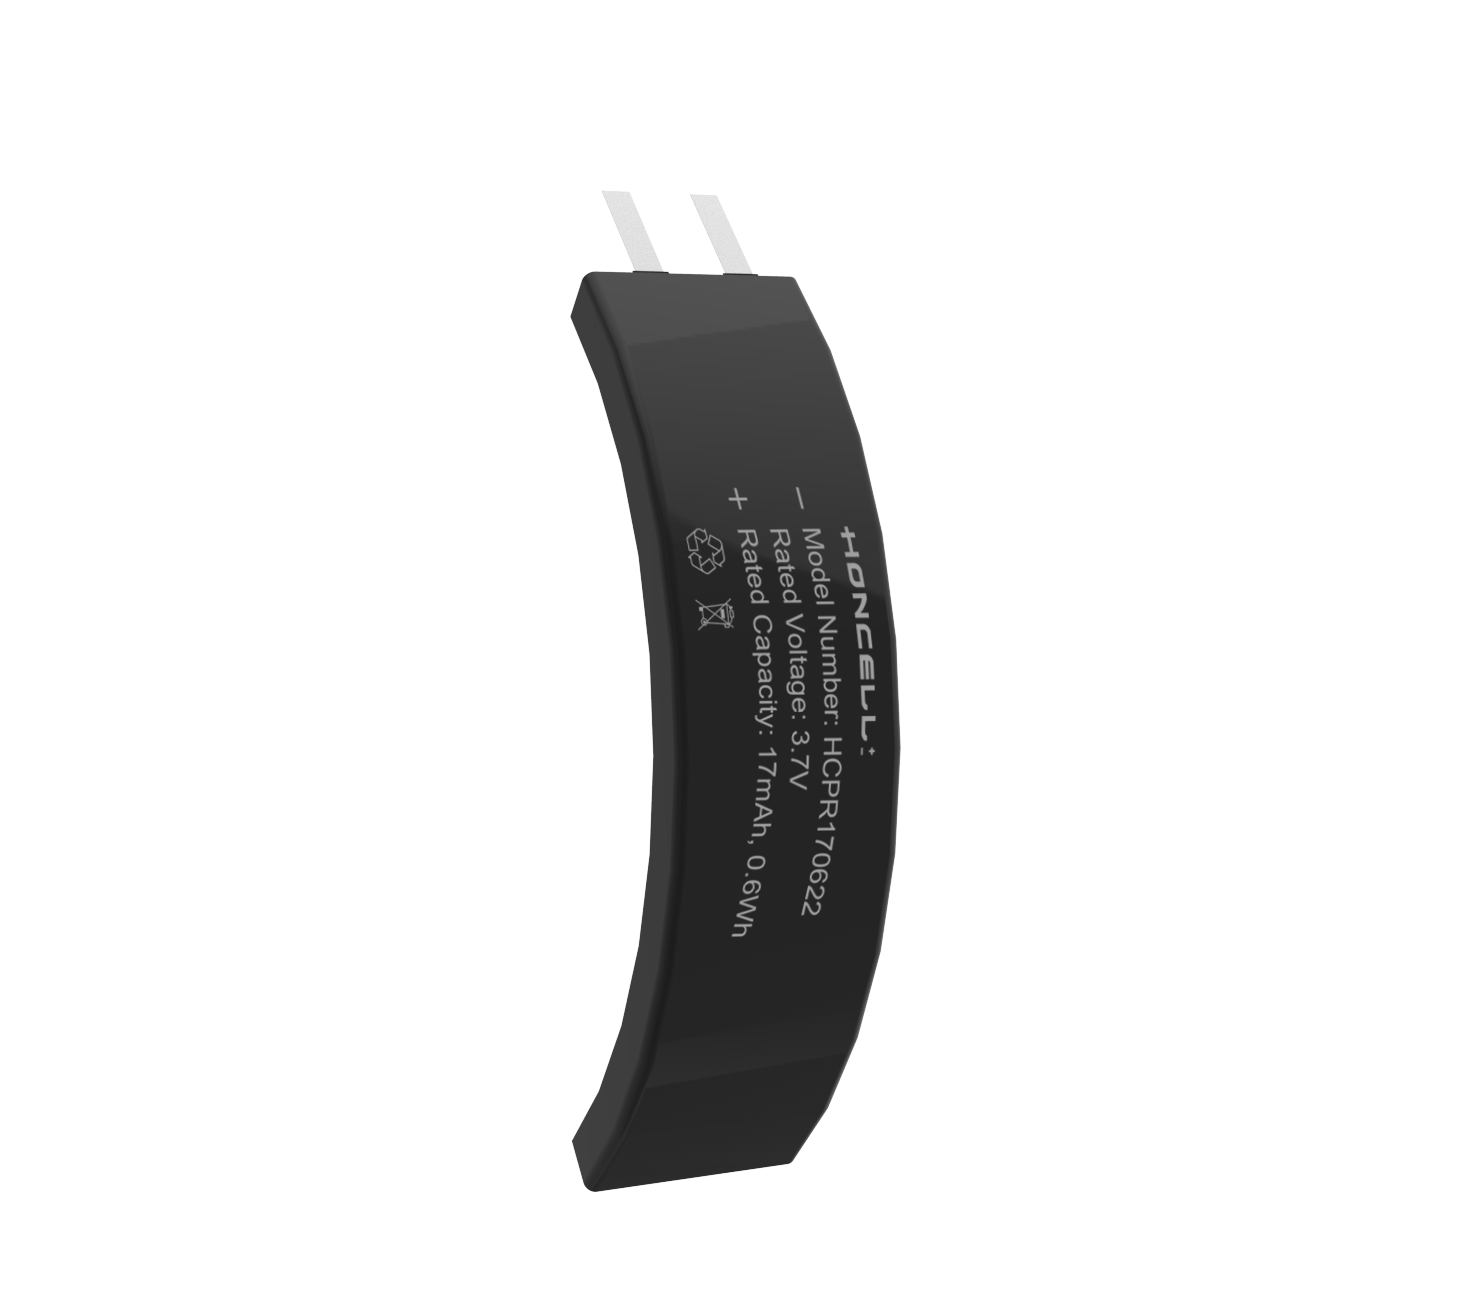
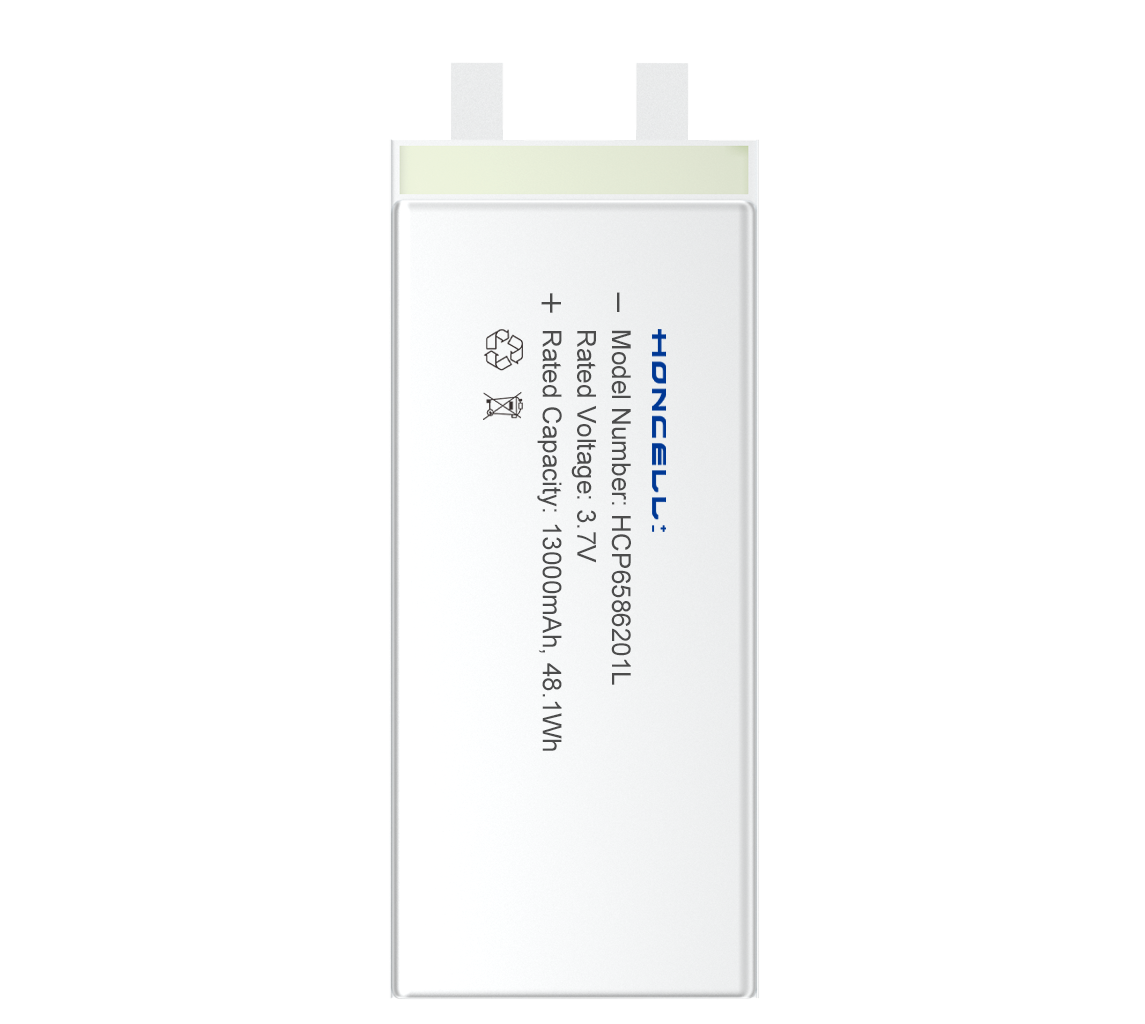
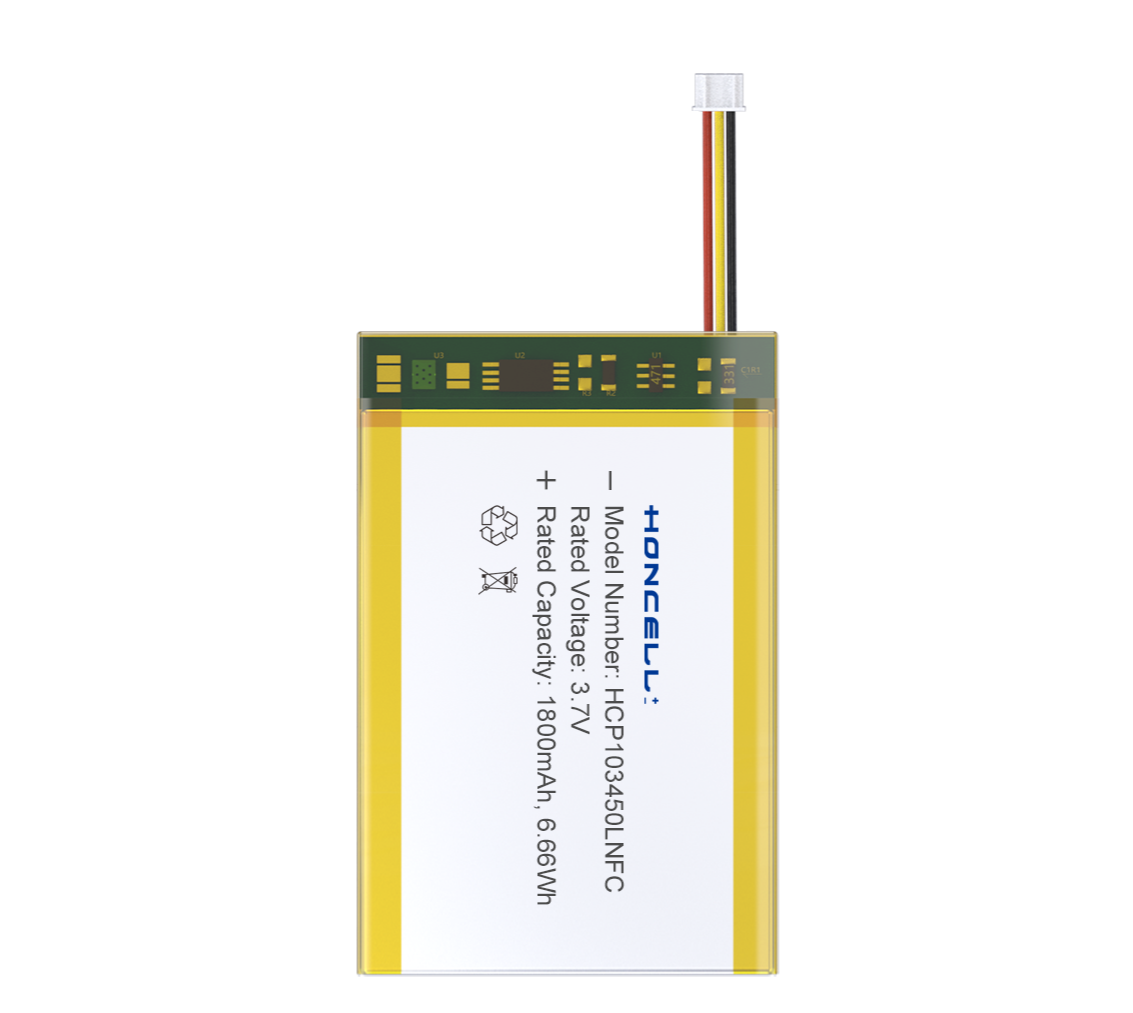
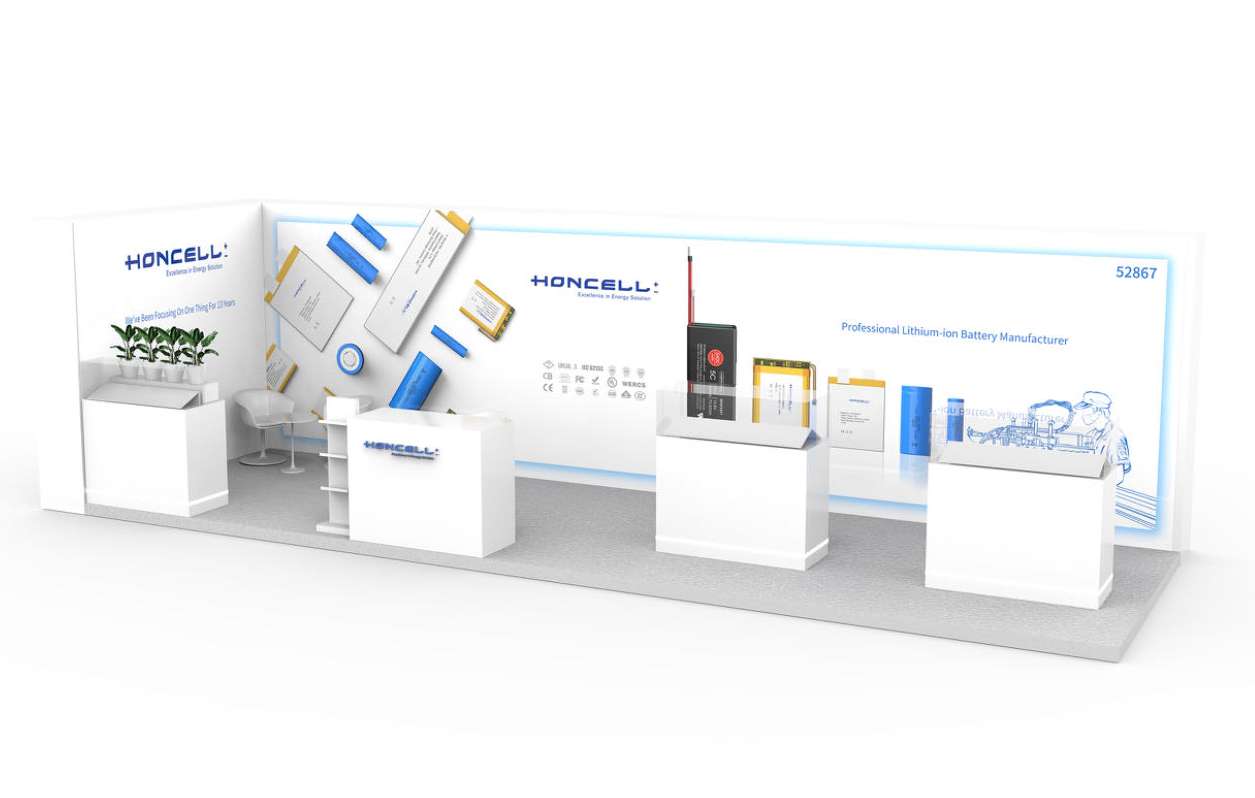
Honcell offers flexible lithium battery customization services to ensure that our batteries are tailored to our customers’ specific needs, whether it be in product specifications, performance, appearance, or transportation.
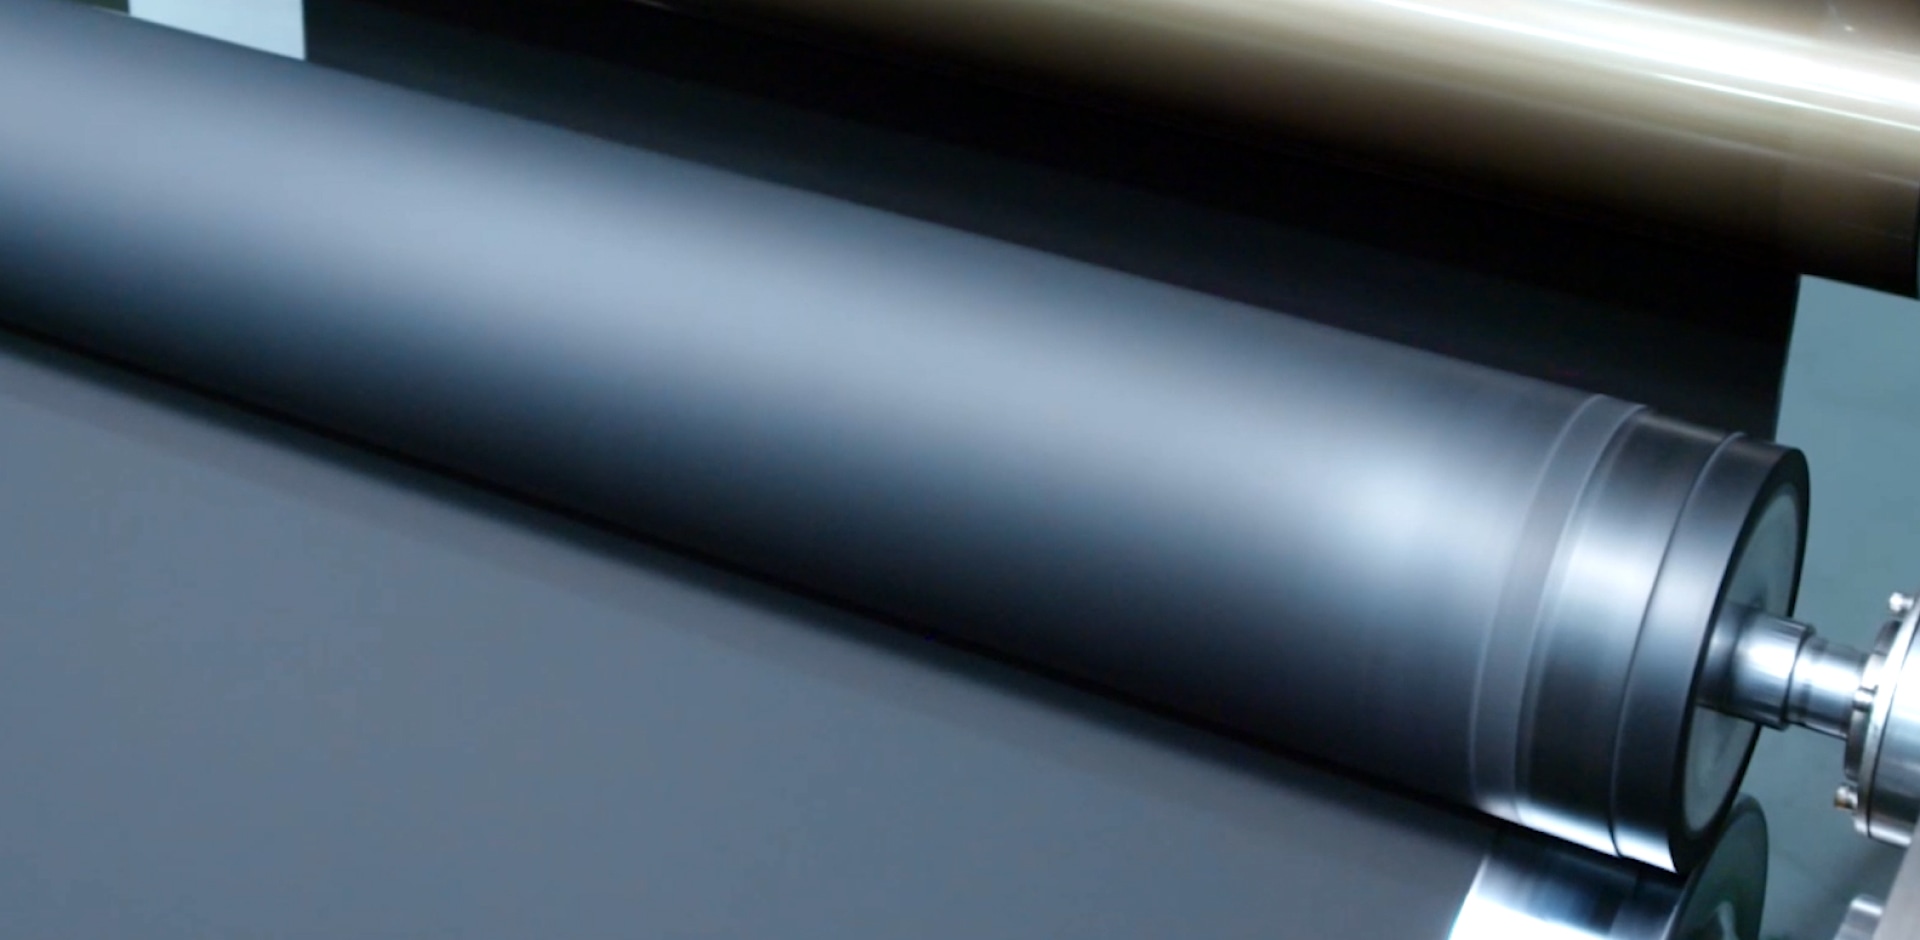
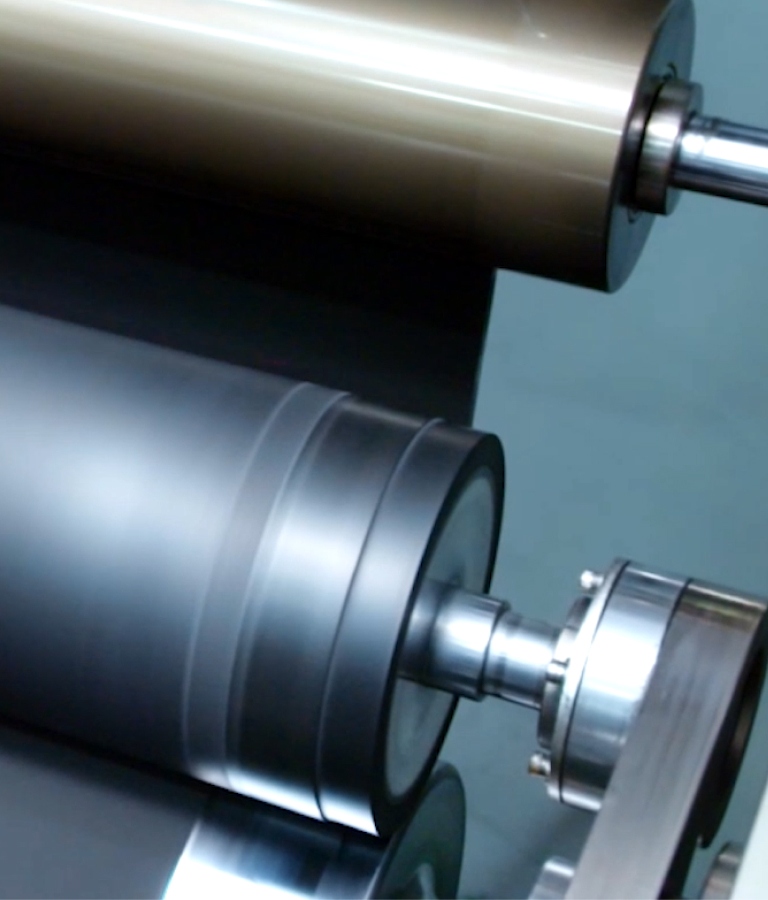
Li-ion Battery Production Flowchart

-
1. IQC (Incoming Quality Control)
-
2. Material Requisition
-
3. Vacuum Slurry Mixing
-
4. Viscosity & Solid Content Testing
-
5. Cathode & Anode Automatic Feeding
-
6. Electrode Coating
-
7. Measuring Surface Density
-
8. Electrode Compressing
-
9. Automatic Slitting
-
10. Automatic Electrode Production
-
11. Full Inspection
-
12. Electrodes Winding
-
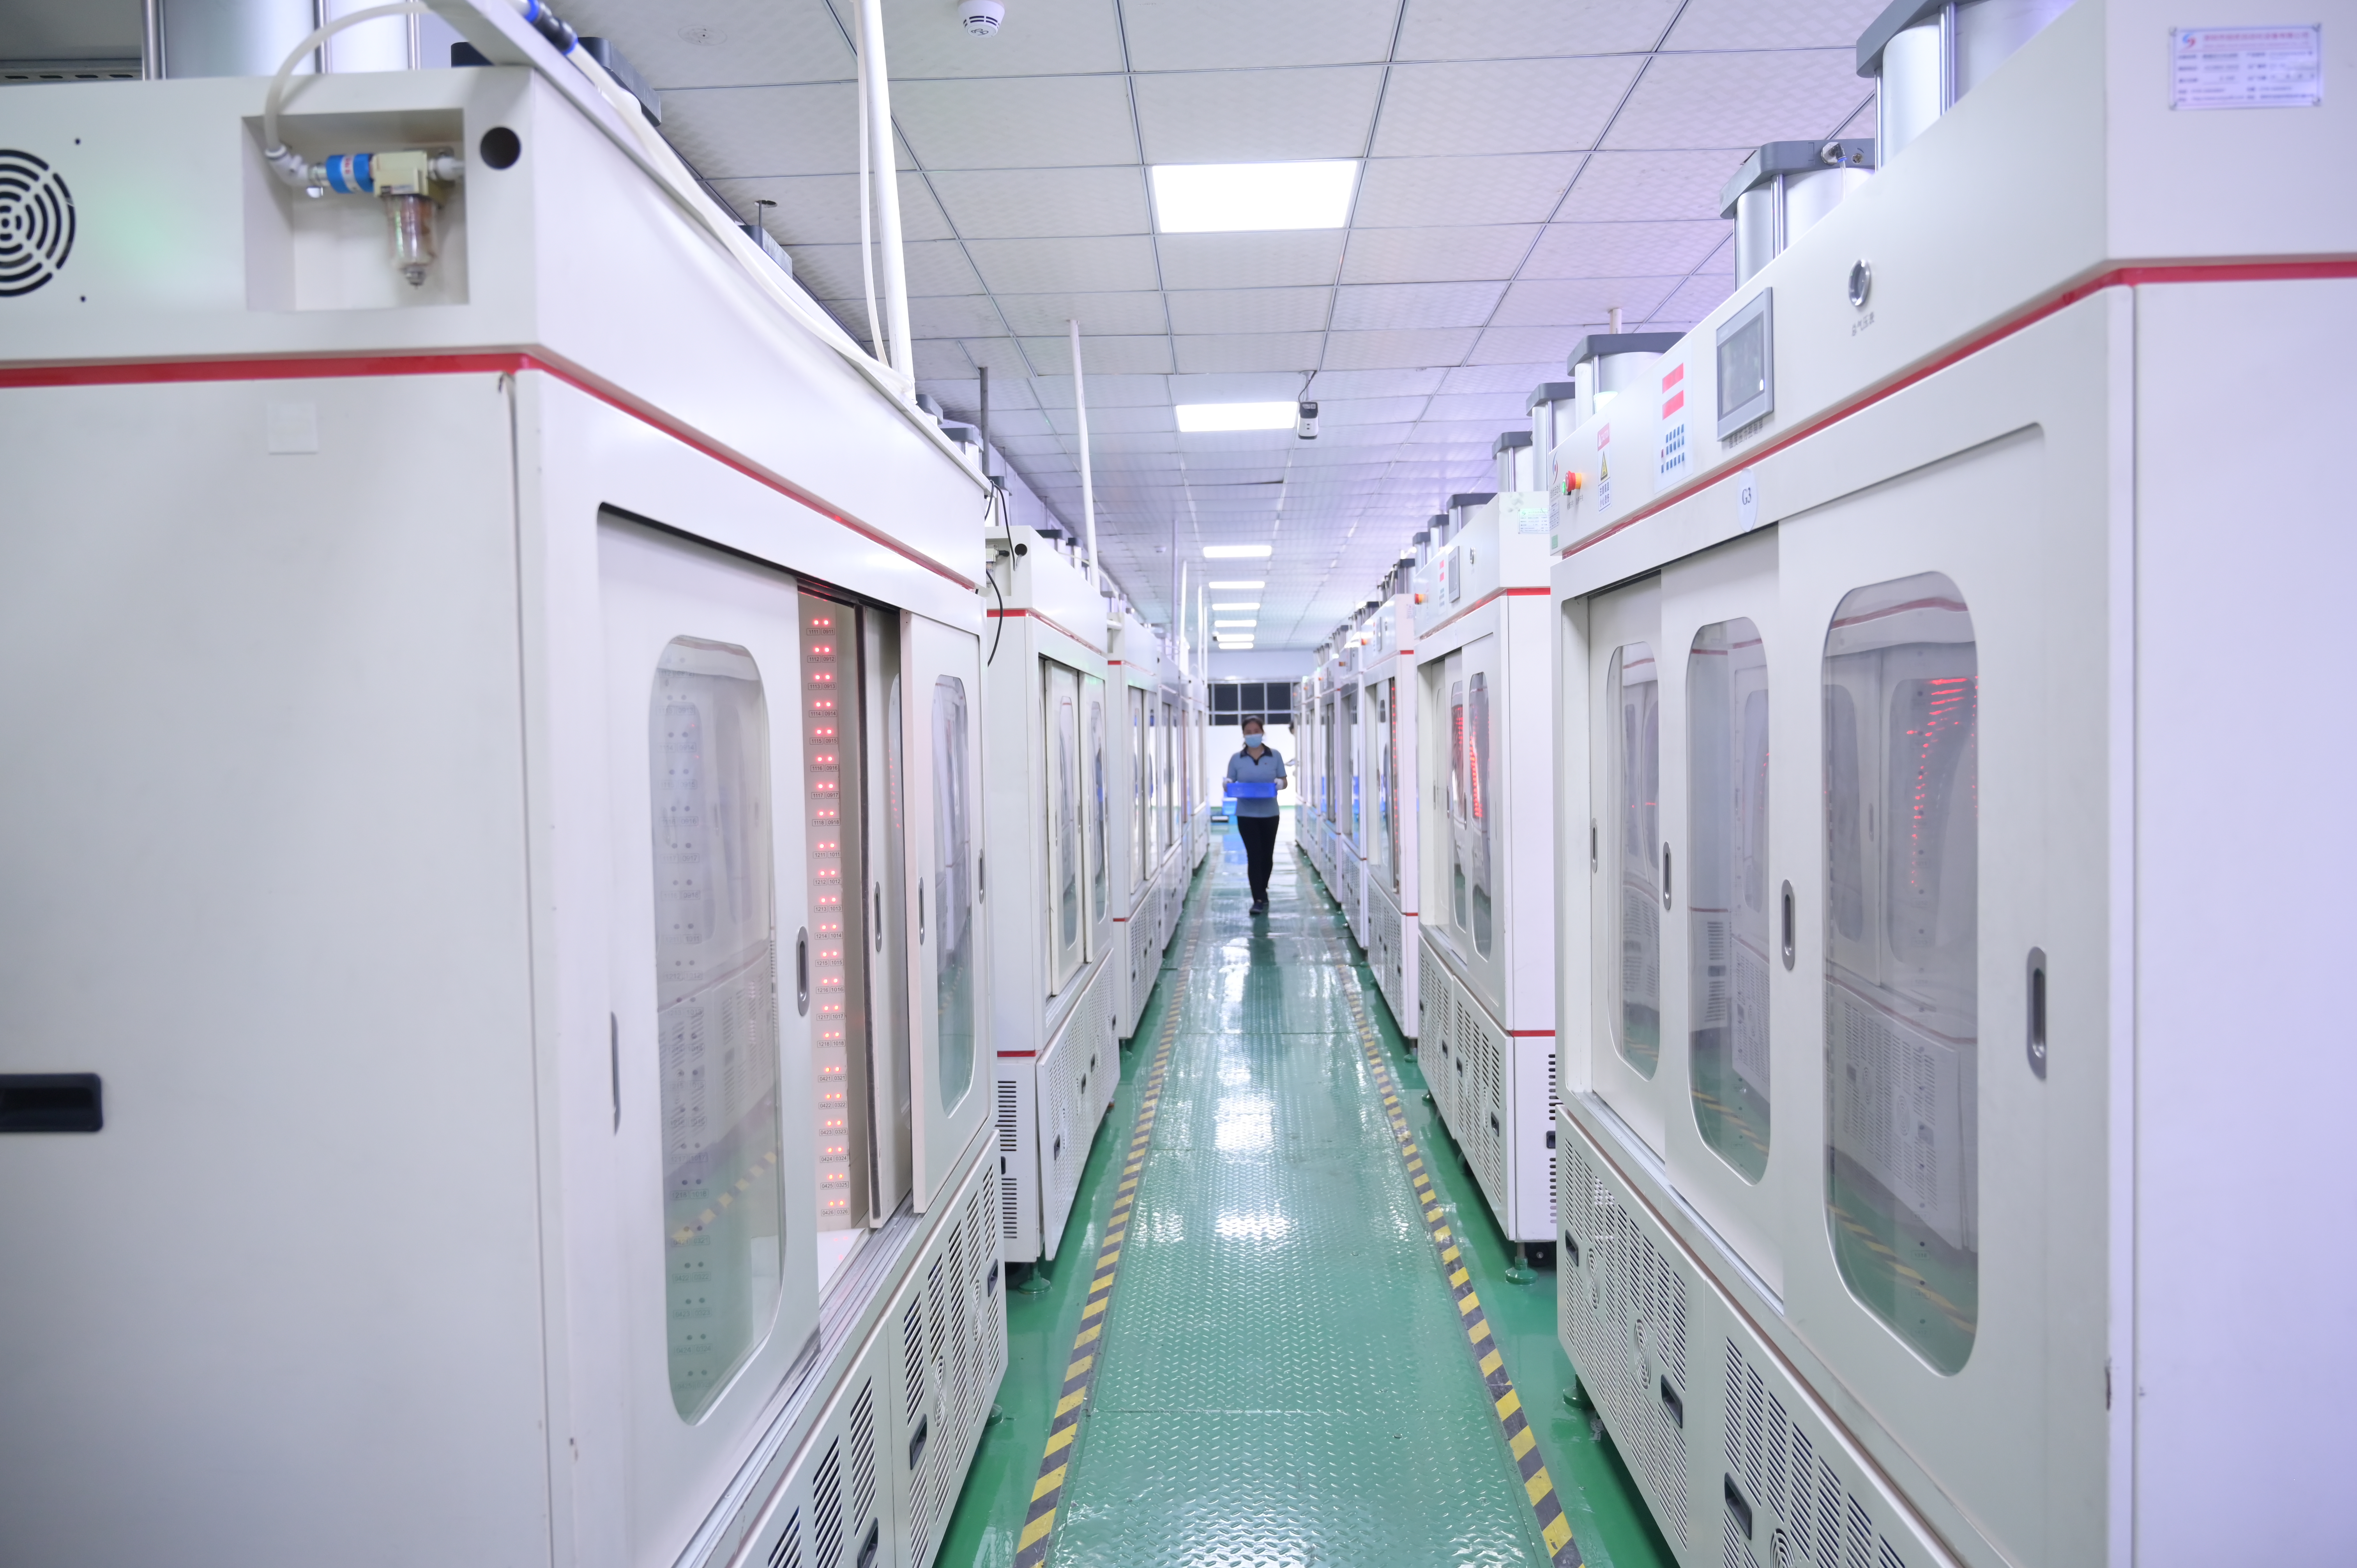
13. Full Inspection
-
14. Compressing, Dedusting, & Short Circuit Testing
-
Aluminum Foil Pouch Bag
-
15. Pouch Bag Top and Side Sealing
-
16. Short Circuit Testing
-
17. Corner Sealing
-
18. PE Film Sticking
-
19. Full lnspection
-
20. Putting In The Injection Basket
-
21. Splaying
-
22. Baking
-
23. Electrolyte Filling
-
24. Vacuum Infiltrating
-
25. Vacuum 1st Sealing
-
26. Full inspection
-
27. High Temperature Aging
-
28. Hot Pressing And Cell Formation
-
29. High Temperature Aging
-
30. Degassing and Sealing
-
31. Second Time Side Sealing
-
32. Cutting, Folding, lroningThe Edge
-
33. Full Inspection
-
34. Code Spraying
-
35. Vacuum Leak Detection
-
36. Capacity Grading
-
37. High Temperature Aging
-
38. OCV
-
39. Room Temperature Aging
-
40. OCV2
-
41. Cutting Tabs
-
42. Sticking Top Tape
-
43. Sticking Side Tapes
-
44. Code Spraying
-
45. Appearance Inspection
-
46. Pack and Assembling
-
47. Pack and Storage
-
48. Shipping
-
QC Sampling Inspection
-
1. IQC (Incoming Quality Control)
-
This step involves inspecting and validating the quality of incoming raw materials and components, ensuring they meet predefined standards before being used in production. It's crucial to maintain high-quality standards throughout the battery manufacturing process.
-
-
2. Material Requisition
-
Clarify the requirements for raw materials, prevent shortages of raw materials, and ensure that the materials are made available promptly before production commences, thereby enabling production schedules to be executed smoothly.
-
-
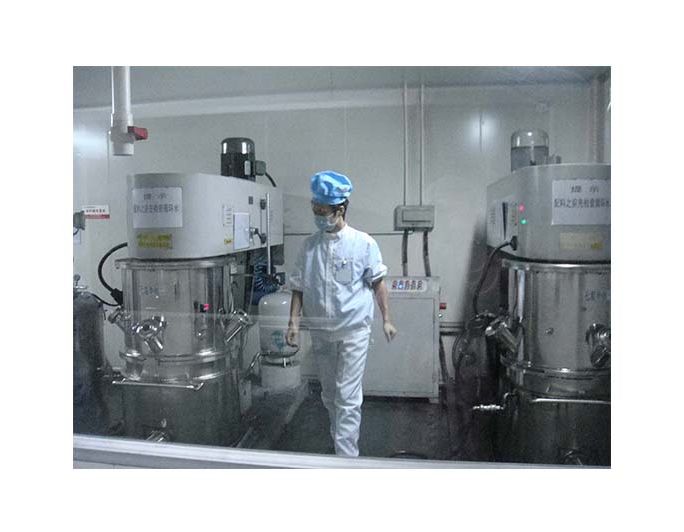
3. Vacuum Slurry Mixing
-
Process in Brief: To mix and blend the ingredients like the solvent and adhesives separately with positive (LiCoO2) and negative (carbon graphite) active materials. Make into positive and negative compound slurry after high speed and even stirring.
Challenges are mainly from humidity control, vacuum condition and the mixture evenness.
-
-
4. Viscosity & Solid Content Testing
-
Process in Brief: It involves assessing the percentage of solid substances, including active materials, conductive agents, and binding additives, within the overall mass of the slurry.
-
-
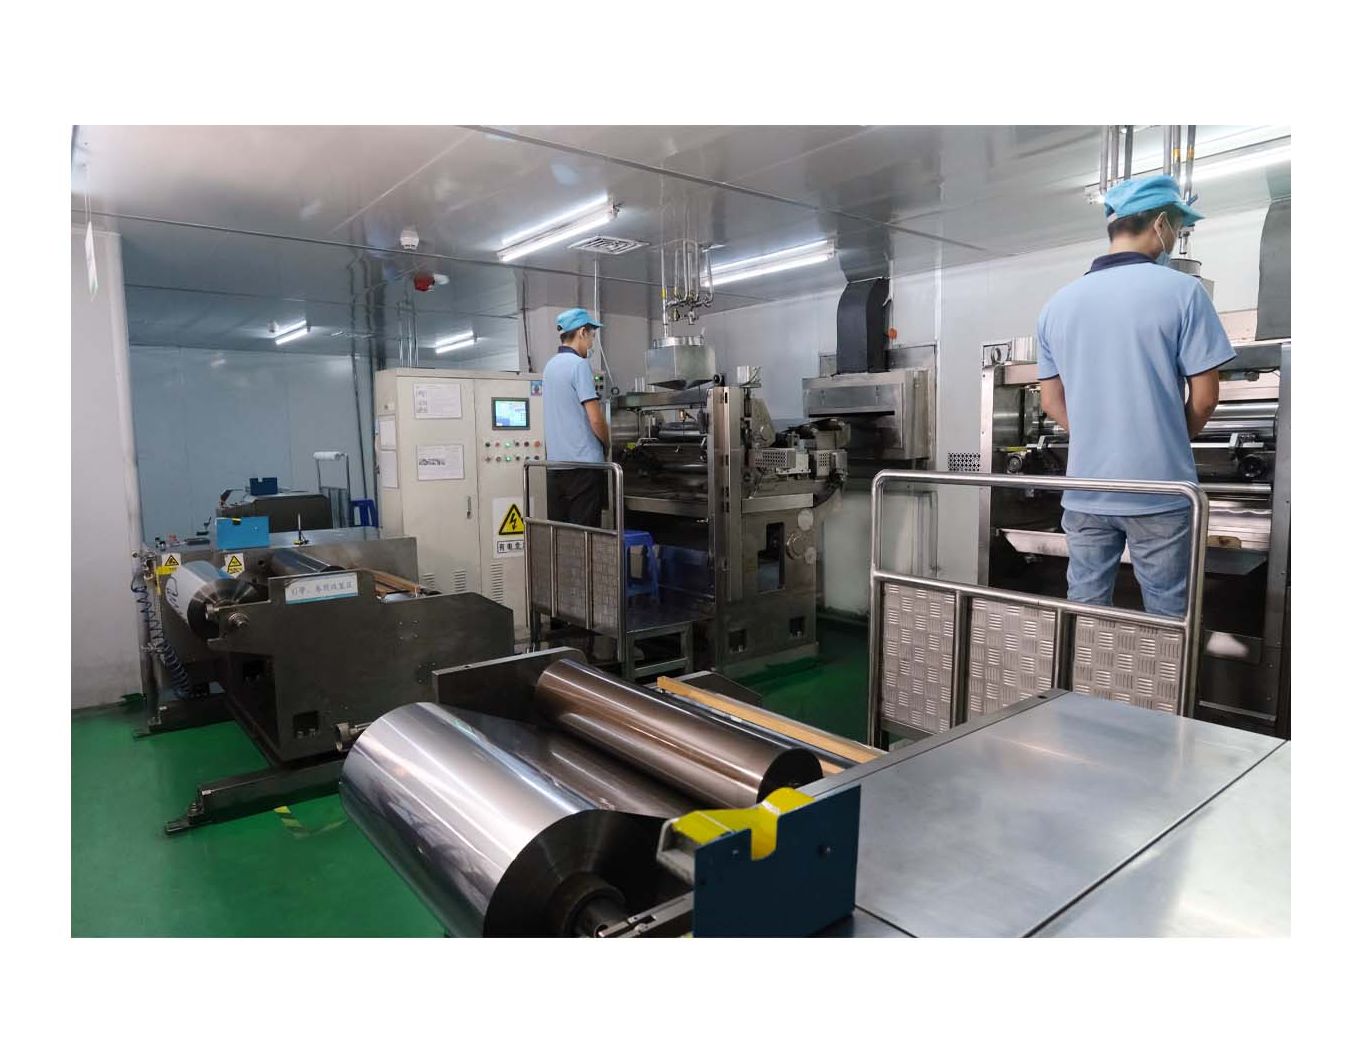
5. Cathode & Anode Automatic Feeding
-
Process in Brief: Automatic feeding refers to the mechanized process of supplying cathode and anode materials into the production line. This automated step ensures consistent and precise input of materials for the manufacturing process.
-
-
6. Electrode Coating
-
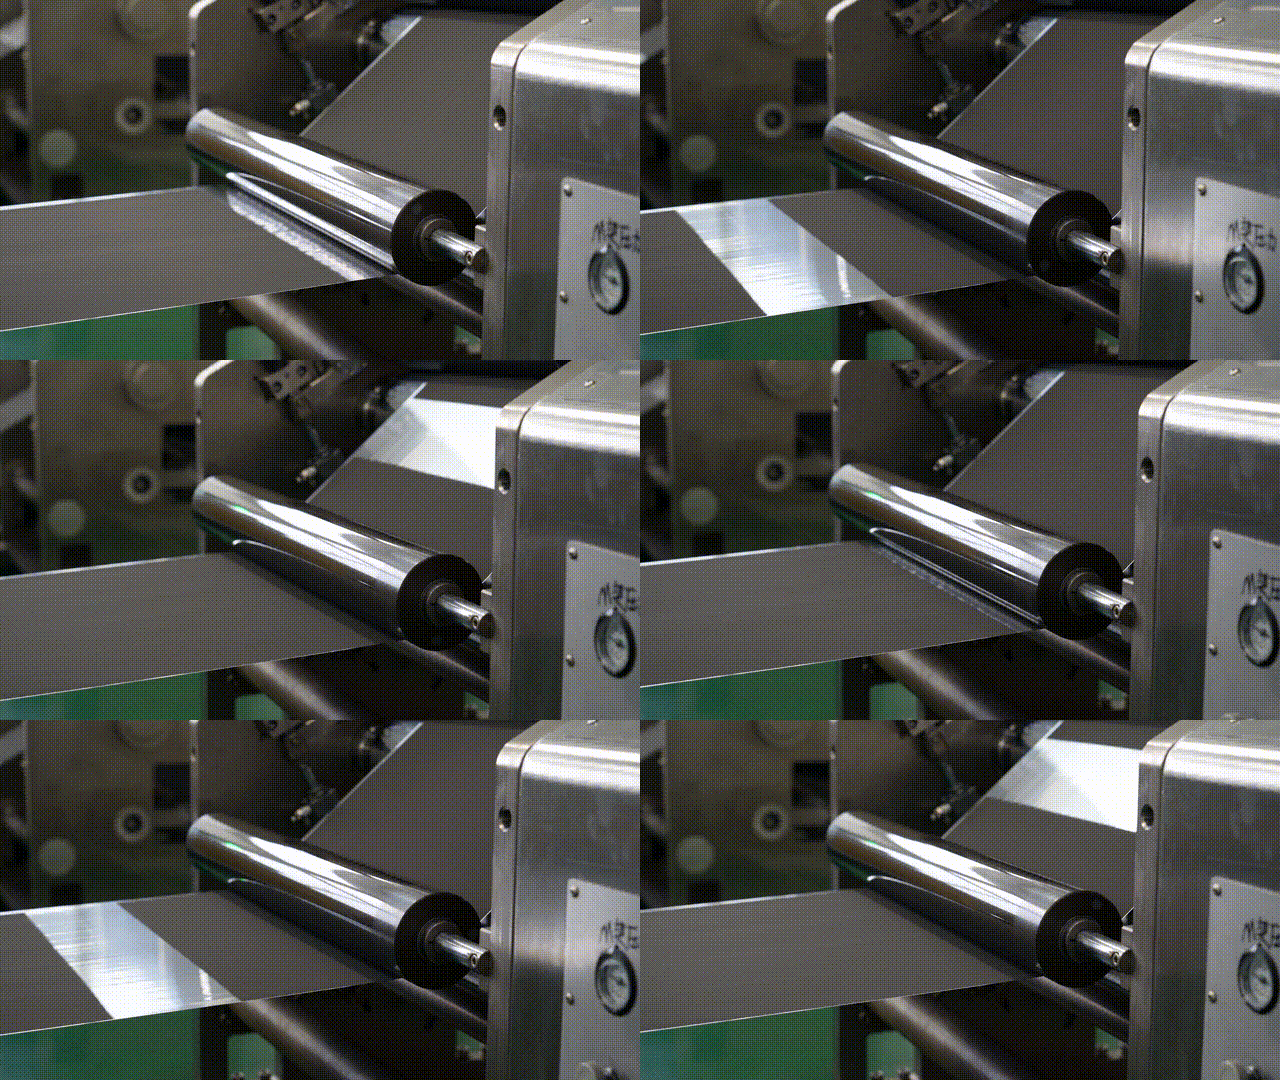
Process in Brief:To coat the well-stirred slurry on the aluminum foil (positive electrode) and copper foil (negative electrode) separately and uniformly on both sides and dry them in a 6-temperature-zone hot oven before rolling them into a large roll.
-
Challenges: Challenges are mainly from humidity, powder and dust control, the slurry coating evenness along with burr on the copper edge.
-
-
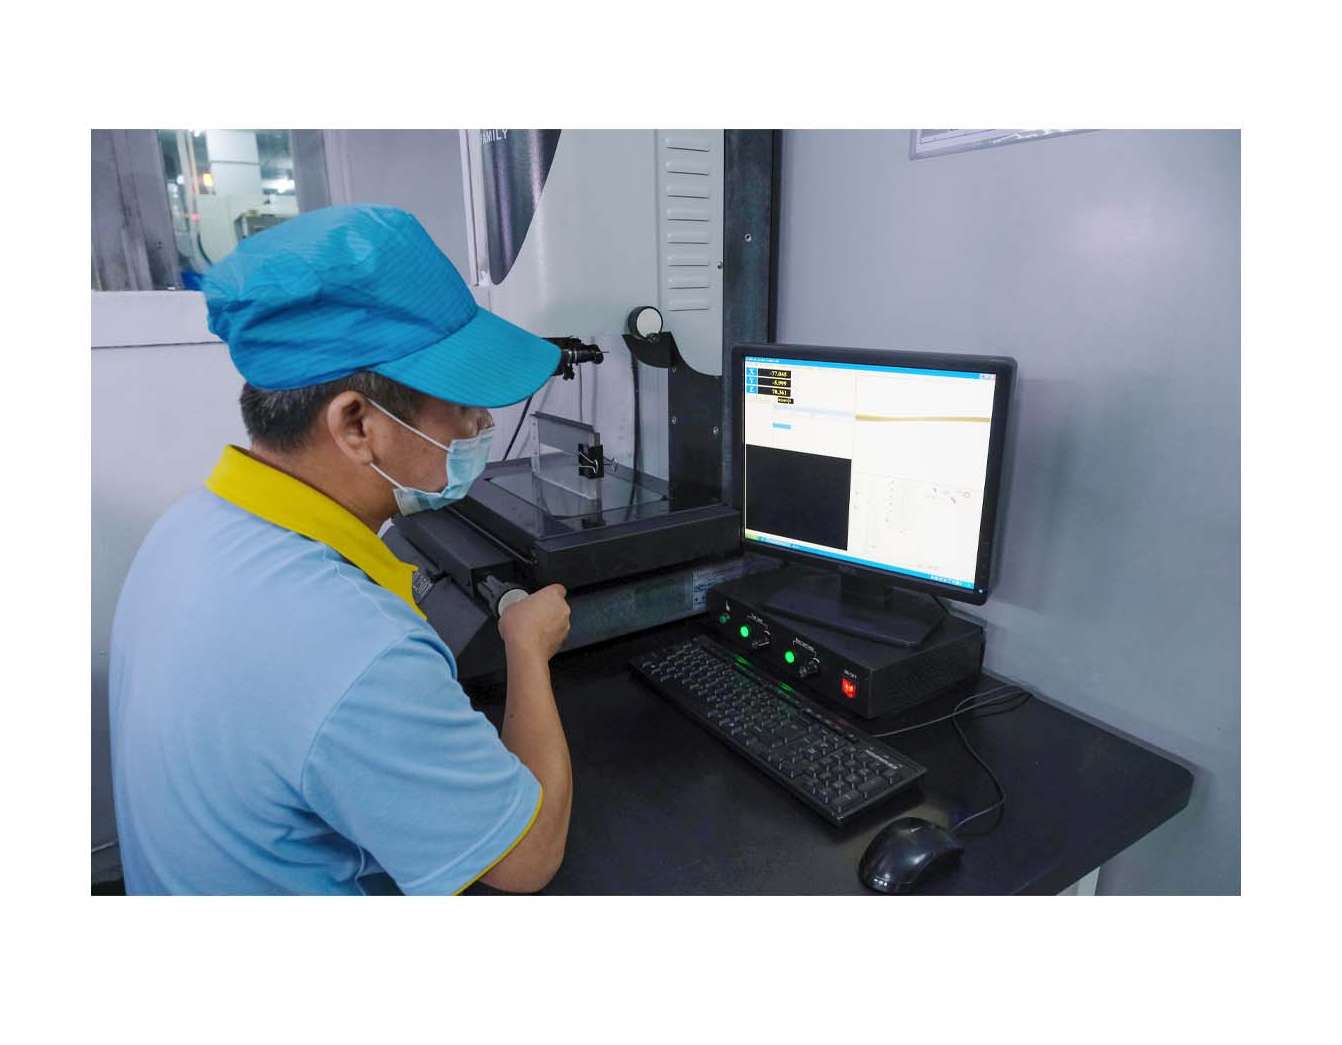
7. Measuring Surface Density
-
Measuring the surface density is crucial as it significantly impacts the internal resistance, capacity, and energy density of battery cells.
-
-
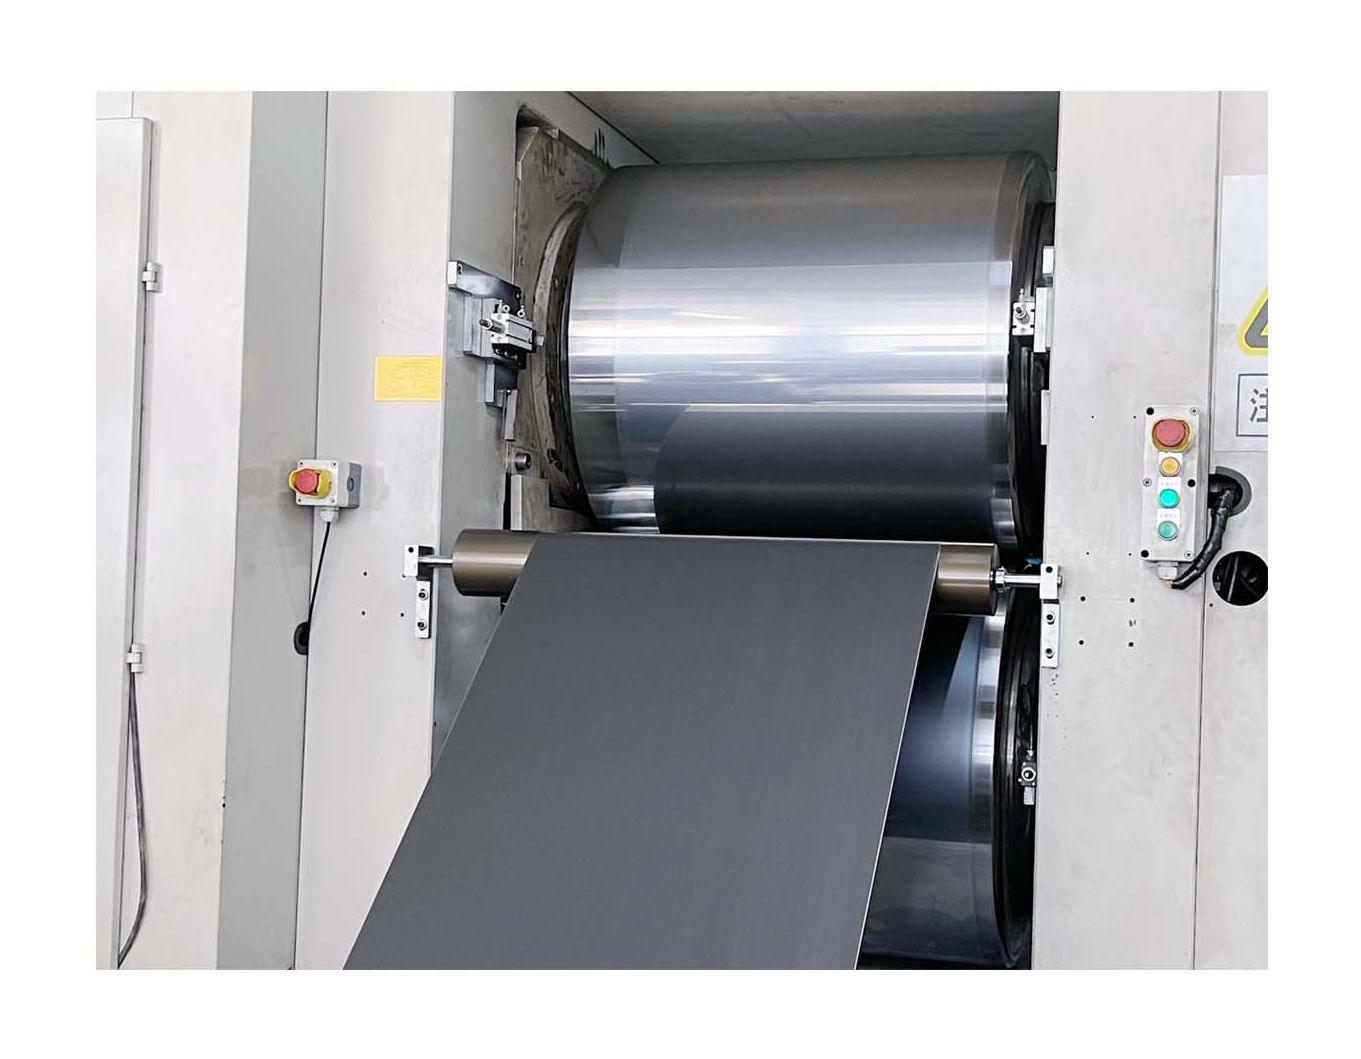
8. Electrode Compressing
-
Process in Brief: Immediately compress the electrodes as evenly as possible after removing them from the 6-temperature-zone oven, and measure the surface thickness by digging a round hole manually. An X-ray inspection is performed to examine the electrodes.
Challenges: Challenges are mainly from humidity control, electrode surface evenness, and burrs.
-
-
9. Automatic Slitting
-
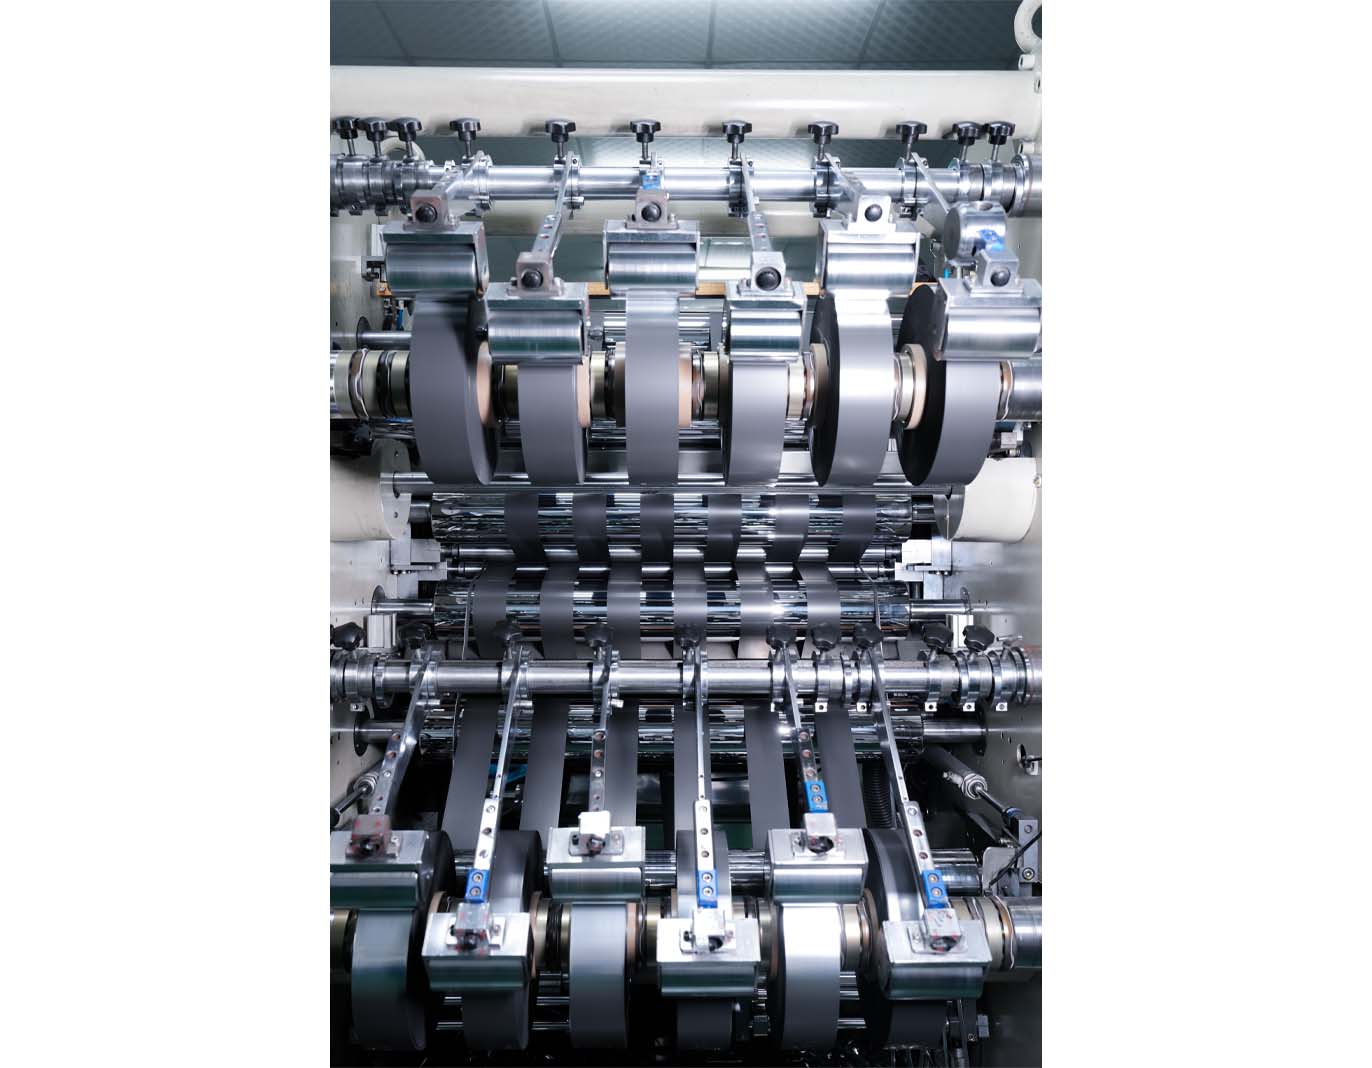
Process in Brief: To slice continuous rolls of positive and negative electrode sheets into appropriate sizes required for the final cells. The length of the sliced electrode typically determines the length of the cell in a certain direction, while the width determines its width.
Challenges include ensuring that the sliced electrode sheets are free from wrinkles and powder detachment, demanding high precision in the slitting dimensions. It is essential for the cut edges to be smooth and free of burrs to prevent potential internal short circuits caused by burrs piercing the separator.
-
-
10. Automatic Electrode Production
-
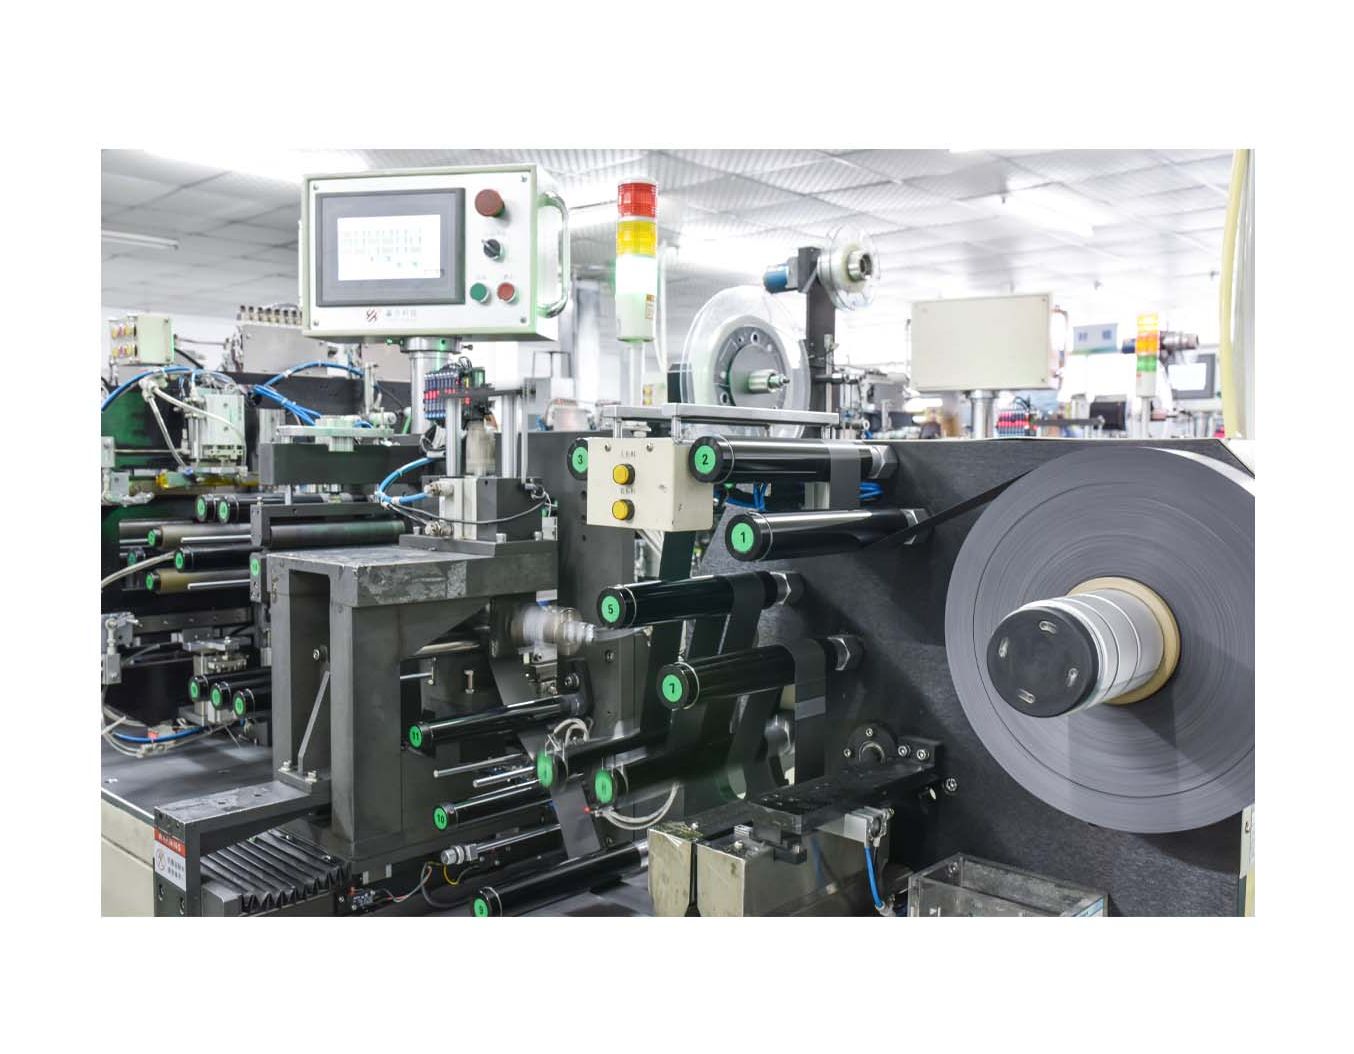
Process in Brief: To spot weld the aluminum and nickel tabs onto the electrodes, then tape to insulate.
Challenges: Challenges are mainly from humidity control, rosin joint and broken welding.
-
-
11. Full Inspection
-
Mainly check electrode paste quality, coating quality, drying and compression quality, cutting and winding quality (note: this check is repeated and should be removed or revised for clarity), insulation resistance, open circuit voltage, and internal resistance. These checks verify the physical properties, chemical properties, and structural integrity of the electrodes to ensure they meet design requirements, thereby improving the overall performance and safety of the battery.
-
-
12. Electrodes Winding
-
Process in Brief: To roll or stack the cathode and anode by adding a separator/film between them, choosing the proper chucking method (for winding only) based on the battery width. The many flexible chucking sizes can result in difficulties in applying automation processes at this stage.
-
Challenges: Challenges are mainly from temperature, humidity, short circuit and dust control.

-
-
13. Full Inspection
-
Check the quality of the winding process, including the tightness and alignment of the windings, the specifications of the pole pieces, the quality of welding, the absence of internal defects, and the results of the insulation withstand voltage test, among others, to ensure that the batteries exhibit good performance and safety during subsequent use.
-
-
14. Compressing, Dedusting, & Short Circuit Testing
-
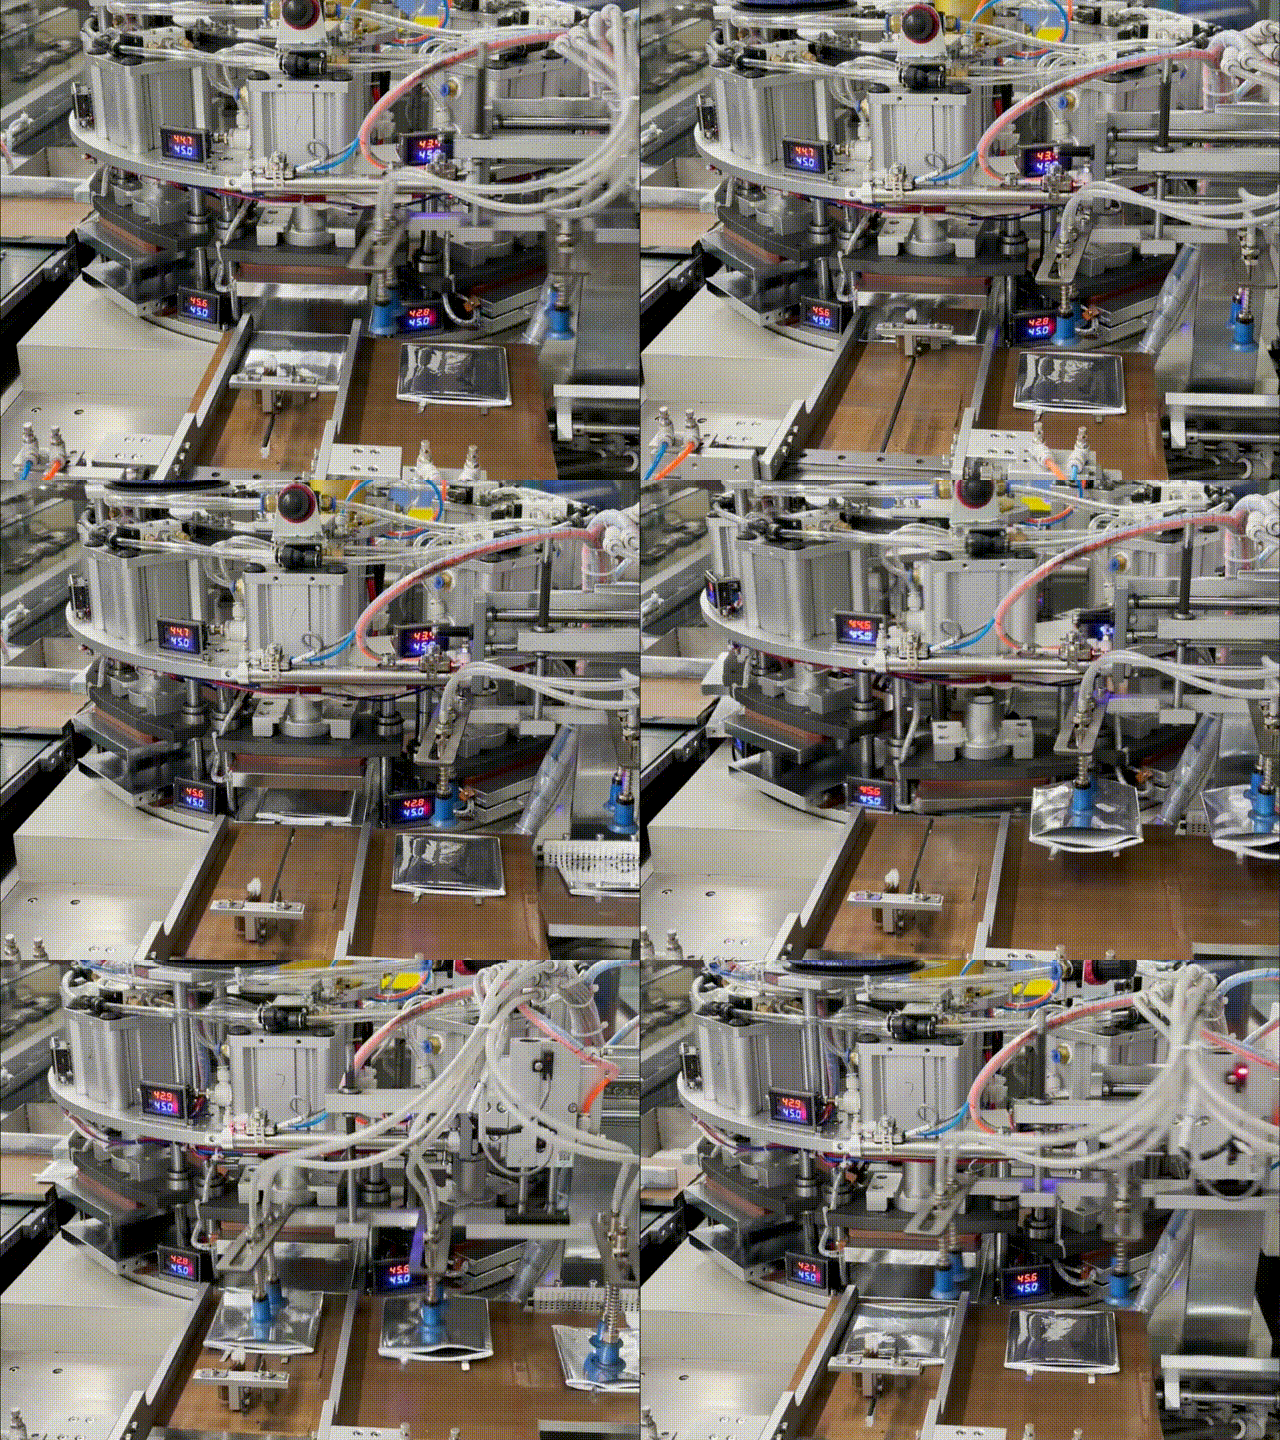
Before enclosing the battery cells in their casing, several procedures are performed, including a Hi-Pot test to detect potential electrical insulation breakdowns, dedusting to manage dust particles, and a short circuit test by connecting the tabs to a testing device. The cells also undergo compression to identify potential short circuits caused by uneven particle distribution, which could puncture the separator, thereby risking a short circuit.
-
-
Aluminum Foil Pouch Bag
-
Process in Brief: A specialized mold is used to crush and cut the Japan-imported aluminum foil to the proper size for a pouch bag. Typically, a single bag is used for cell thicknesses less than 5mm, while a dual bag is used for thicknesses above 5mm.
Challenges: The main challenges are related to temperature, humidity, and the maximum crush extent applied to the foil before it breaks.
-
Challenges: Challenges are mainly from temperature, humidity and maximum crush extent to the foil before broken.

-
-
15. Pouch Bag Top and Side Sealing
-
Process in Brief: To seal the pouch top and left side completely and remain the right side open for electrolyte filling.
-
Challenges: Challenges are mainly from temperature, humidity control and no potential leakage allowed due to untight seal.

-
-
16. Short Circuit Testing
-
Simulate direct contact between the battery's internal positive and negative terminals, as well as between the external positive and negative terminals, and test the battery's safety performance under internal short-circuit conditions and external positive-to-negative short circuits. Analyze the test results to evaluate the battery's safety performance under these short-circuit conditions. Based on the findings, improve the battery design and manufacturing process in order to enhance the battery's safety and stability.
-
-
17. Corner Sealing
-
Specialized sealant is applied to the corners, and the sealant-coated corners are then pressurized using press-fit equipment, ensuring that the sealant and battery pack shell are tightly adhered to form a solid sealing layer. The quality of Corner Sealing is inspected thoroughly, encompassing both appearance inspection and air tightness tests, to guarantee that the sealing effect satisfies all specified requirements.
-
-
18. PE Film Sticking
-
Pre-treat the surface of the battery module to which the PE Film will be laminated by cleaning, degreasing, and dust removal, ensuring the flatness and cleanliness of the lamination surface. Subsequently, coat the surface of either the battery module or the PE Film with a specialized adhesive, and then carefully laminate the PE Film onto the battery module. Following this, cure or press the laminated PE Film to ensure that the adhesive fully cures and forms a strong bonding layer, tightly adhering the PE Film to the battery module. Lastly, conduct a comprehensive quality inspection, encompassing appearance inspection, size measurement, peel strength test, and other relevant tests, to verify that the lamination quality meets all specified requirements.
-
-
19. Full lnspection
-
Conduct a full inspection of the PE Film lamination quality with respect to battery components or cells to ensure there are no bubbles, wrinkles, offsets, or misalignments, and to verify cleanliness, dimensional and positional accuracy. Additionally, perform physical property testing and functional validation to ensure the internal structural stability and performance of the battery.
-
-
20. Putting In The Injection Basket
-
To prepare for clean and dry fluid injection, place the cells to be injected into the grids or slots of the injection basket in a specific order and direction. When placing the cells, ensure that the positive and negative directions of the core are noted, to guarantee the correctness of the subsequent liquid injection operation. After positioning the core in the liquid injection basket, secure it in place using clamps or other fixing devices to prevent it from moving or tipping over during the injection process.
-
-
21. Splaying
-
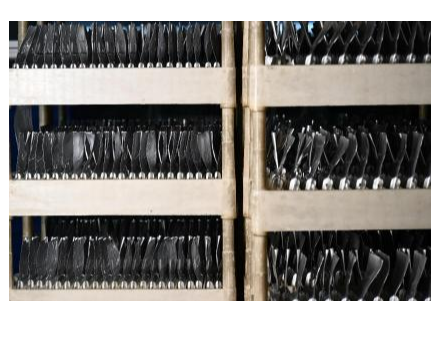
Splay the pouch before electrolyte filling. It facilitate the easier and smoother injection of the electrolyte.
-
-
22. Baking
-
Place the lithium batteries or battery components that need to be baked into the baking equipment, and adjust the temperature, time, and other relevant parameters of the equipment accordingly. During the baking process, it is crucial to strictly control the temperature and time to prevent any damage to the batteries. Additionally, it is essential to maintain the cleanliness of the baking environment to keep impurities from entering the battery interiors. Once the baking is complete, allow the lithium batteries or battery components to cool down.
-
-
23. Electrolyte Filling
-
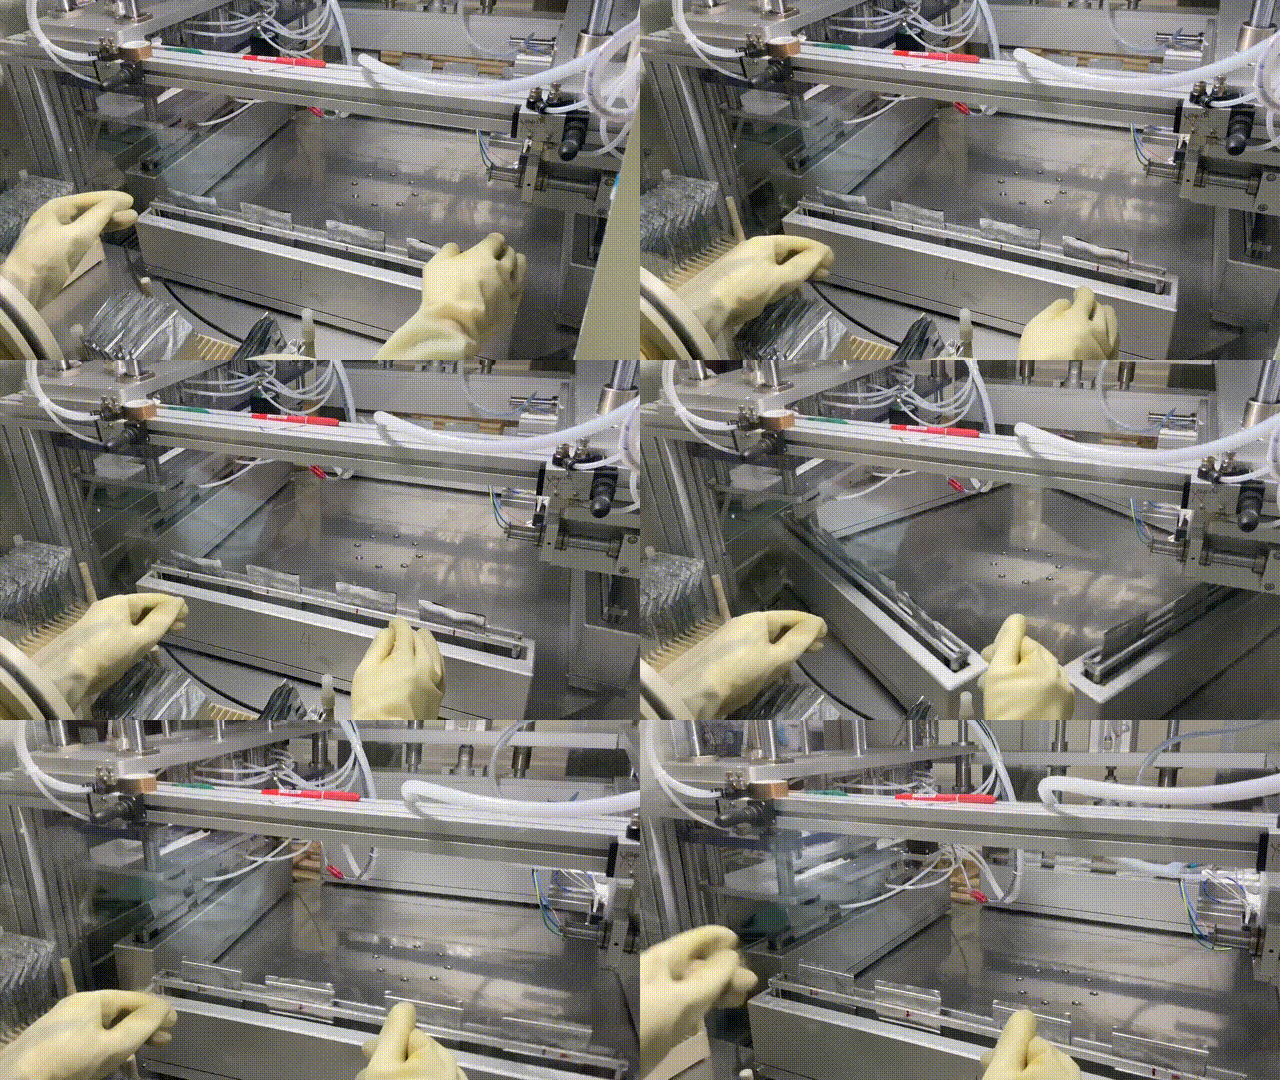
Process in Brief: To inject the electrolyte LiPF6 from the cell right open side in a nitrogen filled (vacuum) chamber by wearing a rubber glove from outside, then seal the right side after filling done.
-
Challenges: Challenges are mainly from temperature, humidity, dew point and LiPF6 weight control.
-
-
24. Vacuum Infiltrating
-
Place the battery or battery assembly intended for impregnation into the vacuum impregnation equipment, and connect all necessary lines and valves. Start the vacuum pump to evacuate the interior of the equipment, thereby removing air and moisture from inside the battery. Introduce the electrolyte or other impregnating solution into the equipment in a specific manner to ensure complete penetration into the battery's interior. Subsequently, gradually release the vacuum and discharge any excess electrolyte from the equipment. Finally, clean, dry, and encapsulate the impregnated battery.
-
-
25. Vacuum 1st Sealing
-
Place the batteries or battery components in the vacuum encapsulation equipment and connect the pipelines and valves. Start the vacuum pump, carry out the vacuum treatment inside the equipment, and then perform the heating treatment for the battery or battery components, so that the encapsulation material is softened and bonded together to form a sealed encapsulation layer. After encapsulation, cooling treatment is performed to cure the encapsulation material and ensure stable sealing performance. Finally, the battery undergoes appearance inspection, gas tightness test, and performance test.
-
-
26. Full inspection
-
A full inspection of the battery's surface is conducted for scratches, dents, stains, and other cosmetic defects. Additionally, the package is checked for completeness and the airtightness is tested for any breakage. The battery undergoes charging and discharging tests, as well as other performance evaluations. Furthermore, safety tests such as short-circuit tests, over-charging and over-discharging tests, and pin-prick tests are also performed.
-
-
27. High Temperature Aging
-
Process in Brief: To store the cells at 45℃ for 5 days aging and let the electrolyte infiltrated into the electrodes.
-
Challenges: Challenges are mainly from temperature, humidity and whether the electrolyte infiltrates totally. No cell swelling allowed after 5 days aging at high temperature.

-
-
28. Hot Pressing And Cell Formation
-
Process in Brief: Charging is performed to activate the chemical substances within the cell. By now, the cells retain electricity.
-
Challenges: Challenges are mainly from how many cabinets there for activating cells.
-
-
29. High Temperature Aging
-
Set the appropriate aging conditions, including temperature, time, and charge/discharge cycles. Place the batteries into the aging box at appropriate intervals. Start the equipment and regularly monitor the battery's performance parameters, such as voltage, internal resistance, and capacity. Upon completion of the aging process, remove the batteries and proceed with performance testing, classification, and screening steps.
-
-
30. Degassing and Sealing
-
Process in Brief: The process involves absorbing the air from the air bag and trimming the excess aluminum foil sleeve to reshape its edges, for example, by single or double edge folding.
-
Challenges: Challenges are mainly whether sheer degassing done or not and tight sealing process with no potential leakage.

-
-
31. Second Time Side Sealing
-
Process in Brief: To squeeze the cell air to the air bag and seal the right side tightly before degassing.
-
Challenges: Challenges are mainly whether as close vacuum condition as possible inside the cell, tight sealing, no leakage allowed.
-
-
32. Cutting, Folding, lroningThe Edge
-
Cutting: High-precision cutting is achieved by precision cutting equipment that automatically adjusts the position and angle of the knives according to a preset program.
Folding: Through multiple folding stations and a precise control system, it ensures alignment and fit between each layer of sheets and accurately completes the folding action.
Ironing the Edge: Pressing and rolling the edges of the battery components by means of leveling equipment utilizing rollers, pressure plates, and other tools to eliminate unevenness.
-
-
33. Full Inspection
-
Process in Brief: To make full test of the cells' voltage, impedance, physical size, short circuit, appearance.
-
Challenges: Voltage, impedance, physical dimension must with specification and no short and scratch allowed.

-
-
34. Code Spraying
-
Set up the manufacturer information, battery model and specifications, production date, expiration date, production lot number, and serial number in the printing template. Place the battery in the working area of the printing machine, and adjust the printing machine parameters, such as printing speed, printing distance, and printing fonts, among others. Then, start the printing machine to perform the printing code operation. After completion, check the quality of the spray code to ensure that it is clear, accurate, and without omissions.
-
-
35. Vacuum Leak Detection
-
Prepare the tools, equipment, and materials for vacuum leak detection. Perform the leak detection operation in accordance with the operating procedures specific to the chosen leak detection method and equipment. Observe and record the leak detection results carefully. Analyze the location of the leakage holes and the size of the leakage rate, then formulate appropriate repair measures. After repairing the leakage hole, conduct vacuum leak detection once again to confirm the effectiveness of the repair.
-
-
36. Capacity Grading
-
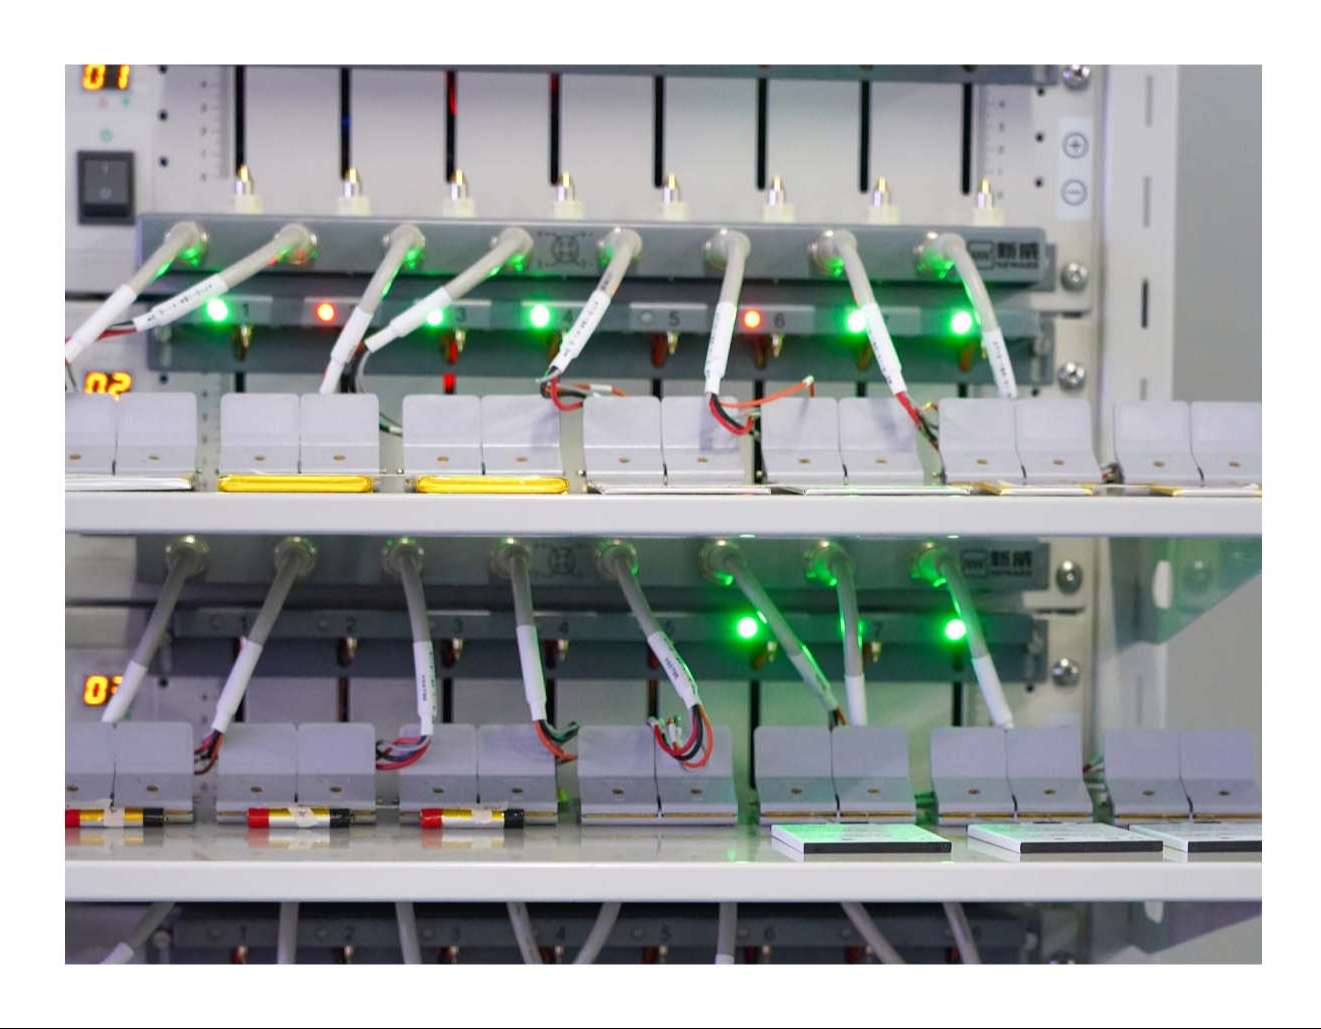
Process in Brief: To charge the cells at CC/CV to 4.2V and discharge to 3.0V to grade the cell capacity, then charge to 60% for shipping.
Challenges: 24hrs CCTV monitoring the process and record all data. The tolerance for capacity is +/-10mAh only.

-
-
37. High Temperature Aging
-
Process in Brief: To store the cells at 45℃ for 5 days aging and let the electrolyte infiltrated into the electrodes.
Challenges: Challenges are mainly from temperature, humidity and whether the electrolyte infiltrates totally. No cell swelling allowed after 5 days aging at high temperature.
-
-
38. OCV
-
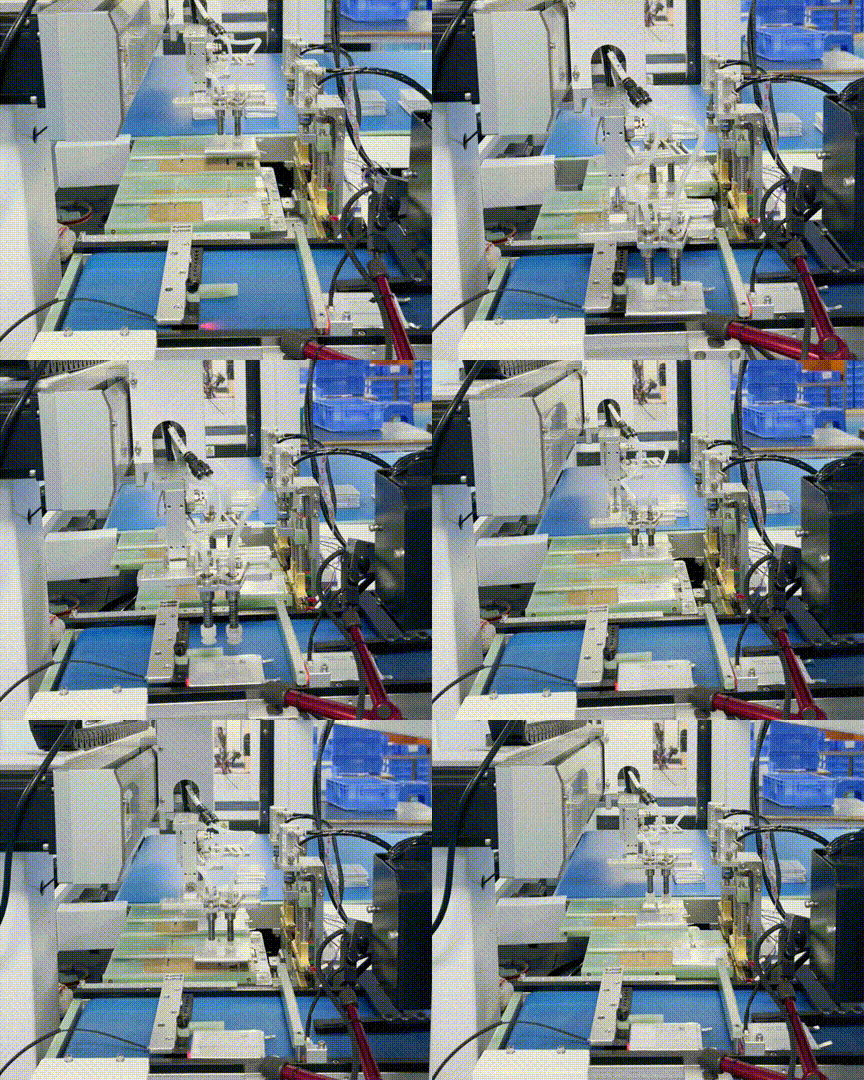
Open Circuit Voltage (OCV) refers to the battery’s voltage when it’s not connected to any devices or loads. In battery production, OCV test is crucial to identify faulty batteries. As batteries naturally lose voltage over time due to self-discharge, those with defects tend to lose voltage faster.
-
-
39. Room Temperature Aging
-
Process in Brief: To age the cells at room temperature for 5 days before assembling.
-
Challenges: No swelling, leakage allowed.

-
-
40. OCV2
-
Measure the positive and negative terminals of the battery using testing equipment, such as a DC voltmeter, to record the open-circuit voltage value. Compare the measured open-circuit voltage value with the specified requirements to analyze the stability and consistency of the battery's performance. If the open-circuit voltage is found to be abnormal, it is necessary to further investigate whether the battery has any quality issues.
-
-
41. Cutting Tabs
-
Use professional cutting equipment to cut the lugs. Strictly control the cutting speed, pressure, angle, and other relevant parameters to ensure that the cut lugs are of precise size and have smooth edges free from burrs.
Once the cutting is completed, the dimensional accuracy, edge quality, and surface finish of the cut lugs should be thoroughly tested.
-
-
42. Sticking Top Tape
-
Cut the tape into a shape and size suitable for the top of the battery. Use the special tool to flatly paste the tape onto the top of the battery, ensuring that the tape and the battery's top are tightly adhered to each other. Upon completion, inspect the tape's appearance to ensure that it is pasted flatly and free from air bubbles, wrinkles, and other defects. Finally, conduct an electrical performance test to verify the effectiveness of the tape in protecting the battery.
-
-
43. Sticking Side Tapes
-
Cut the adhesive tape into a shape and size suitable for the battery side. Use the special tool to flatly paste the tape onto the battery side, ensuring that the tape and the battery side are tightly adhered to each other. Once the process is complete, inspect the tape to ensure it is smooth, free of air bubbles, and wrinkles. Finally, conduct an electrical performance test to verify the effectiveness of the tape in protecting the battery.
-
-
44. Code Spraying
-
Process in Brief: Laser print product code and QR code to trace manufacturing process information.
-
Challenges: Correct content per POs with no blurs.

-
-
45. Appearance Inspection
-
Appearance Inspection encompasses case integrity (checking for scratches, dents, cracks, leaks, and bulges), surface cleanliness (ensuring the surface is clean, free of oils, and fingerprints), labeling and marking (verifying that labels are clear, accurate, and include battery model, specifications, date of manufacture, and manufacturer's information), and assembly quality (assessing whether lugs are securely welded and seals are intact).
-
-
46. Pack and Assembling
-
Process in Brief: To spot weld PCM or BMS onto single cell or use several identical cells to be connected in series and/or parallel with a shrinkable PVC wrapping.
-
Challenges: Spot welding with no rosin joint, test the PCM parameters compliant with parameters, K value sorted cells in voltage, impedance and capacity for series connection.

-
-
47. Pack and Storage
-
Process in Brief: Following the Packing Instructions (PI-965/966/967) for battery shipment,
-
Challenges: The carton solidity must meet UN38.3 request not easy to be bent and deformed, UN carton quite expensive but does fully protected at extraordinary good condition even though rough handling during transportation.
120x100mm Fire Lable Requested by UN38.3
120x100mm Cargo Aircraft Only Requested by UN38.3
100x100mm #9 Classical Substances Vertical Bar Requested by UN38.3
120x100mm Shipping Mark

-
-
48. Shipping
-
Process in Brief: To ship by air or sea is always available from Honcell Energy but the cost is relatively higher than general cargos due to its chemical property and always taken as DGR goods by carriers.
-
Challenges: Packing details do not meet PI and UN38.3. It’s costly to apply for the prescribed model. It’s been always requested by shipping agencies UN38.3 one on one.

-
-
QC Sampling Inspection
-
Process in Brief: According to inspection level 2, proceed with the final inspection for the finished batteries as per GB/T2828.1-2012.
Challenges: AQL (Acceptable Quality Limit) level. During AQL sampling, the smaller the AQL value, the better for controlling flaws, especially if it's for the same lot. Categories include Cr. (critical), Maj. (majority), and Min. (minority).
-


